
Behind the Easel: My 4-Stage Process for Creating Oil Paintings
If you look through art books or browse painting tutorials on YouTube, you will quickly discover that there are almost as many approaches to oil painting as there are artists. Each method is right for the person using it, and every artist’s process is unique—even if only in subtle ways.
After 12 years of dedicated practice, experimenting with different techniques, canvas preparations, and layering styles, I have settled on a process that works seamlessly for me. Whether I am capturing a dramatic historical scene, an atmospheric figure study, or working on a custom portrait commission, my work always progresses through four distinct stages.
Here is an insider look at how a painting transitions from a blank canvas to a finished piece in my studio.
Stage 1: Idea and Preparation
Every painting begins with a concept. The initial step is finding or creating reference material that speaks to me. My approach varies depending on the subject: I might draw inspiration from online visual resources, my own photography, or digital sketches I’ve created in Procreate. Often, it’s a hybrid of all three.
Once the idea takes shape, I determine the ideal composition and scale. Matching the right size canvas to the subject matter is crucial. From there, I either select a canvas from my stock or order a fresh piece of fine linen.
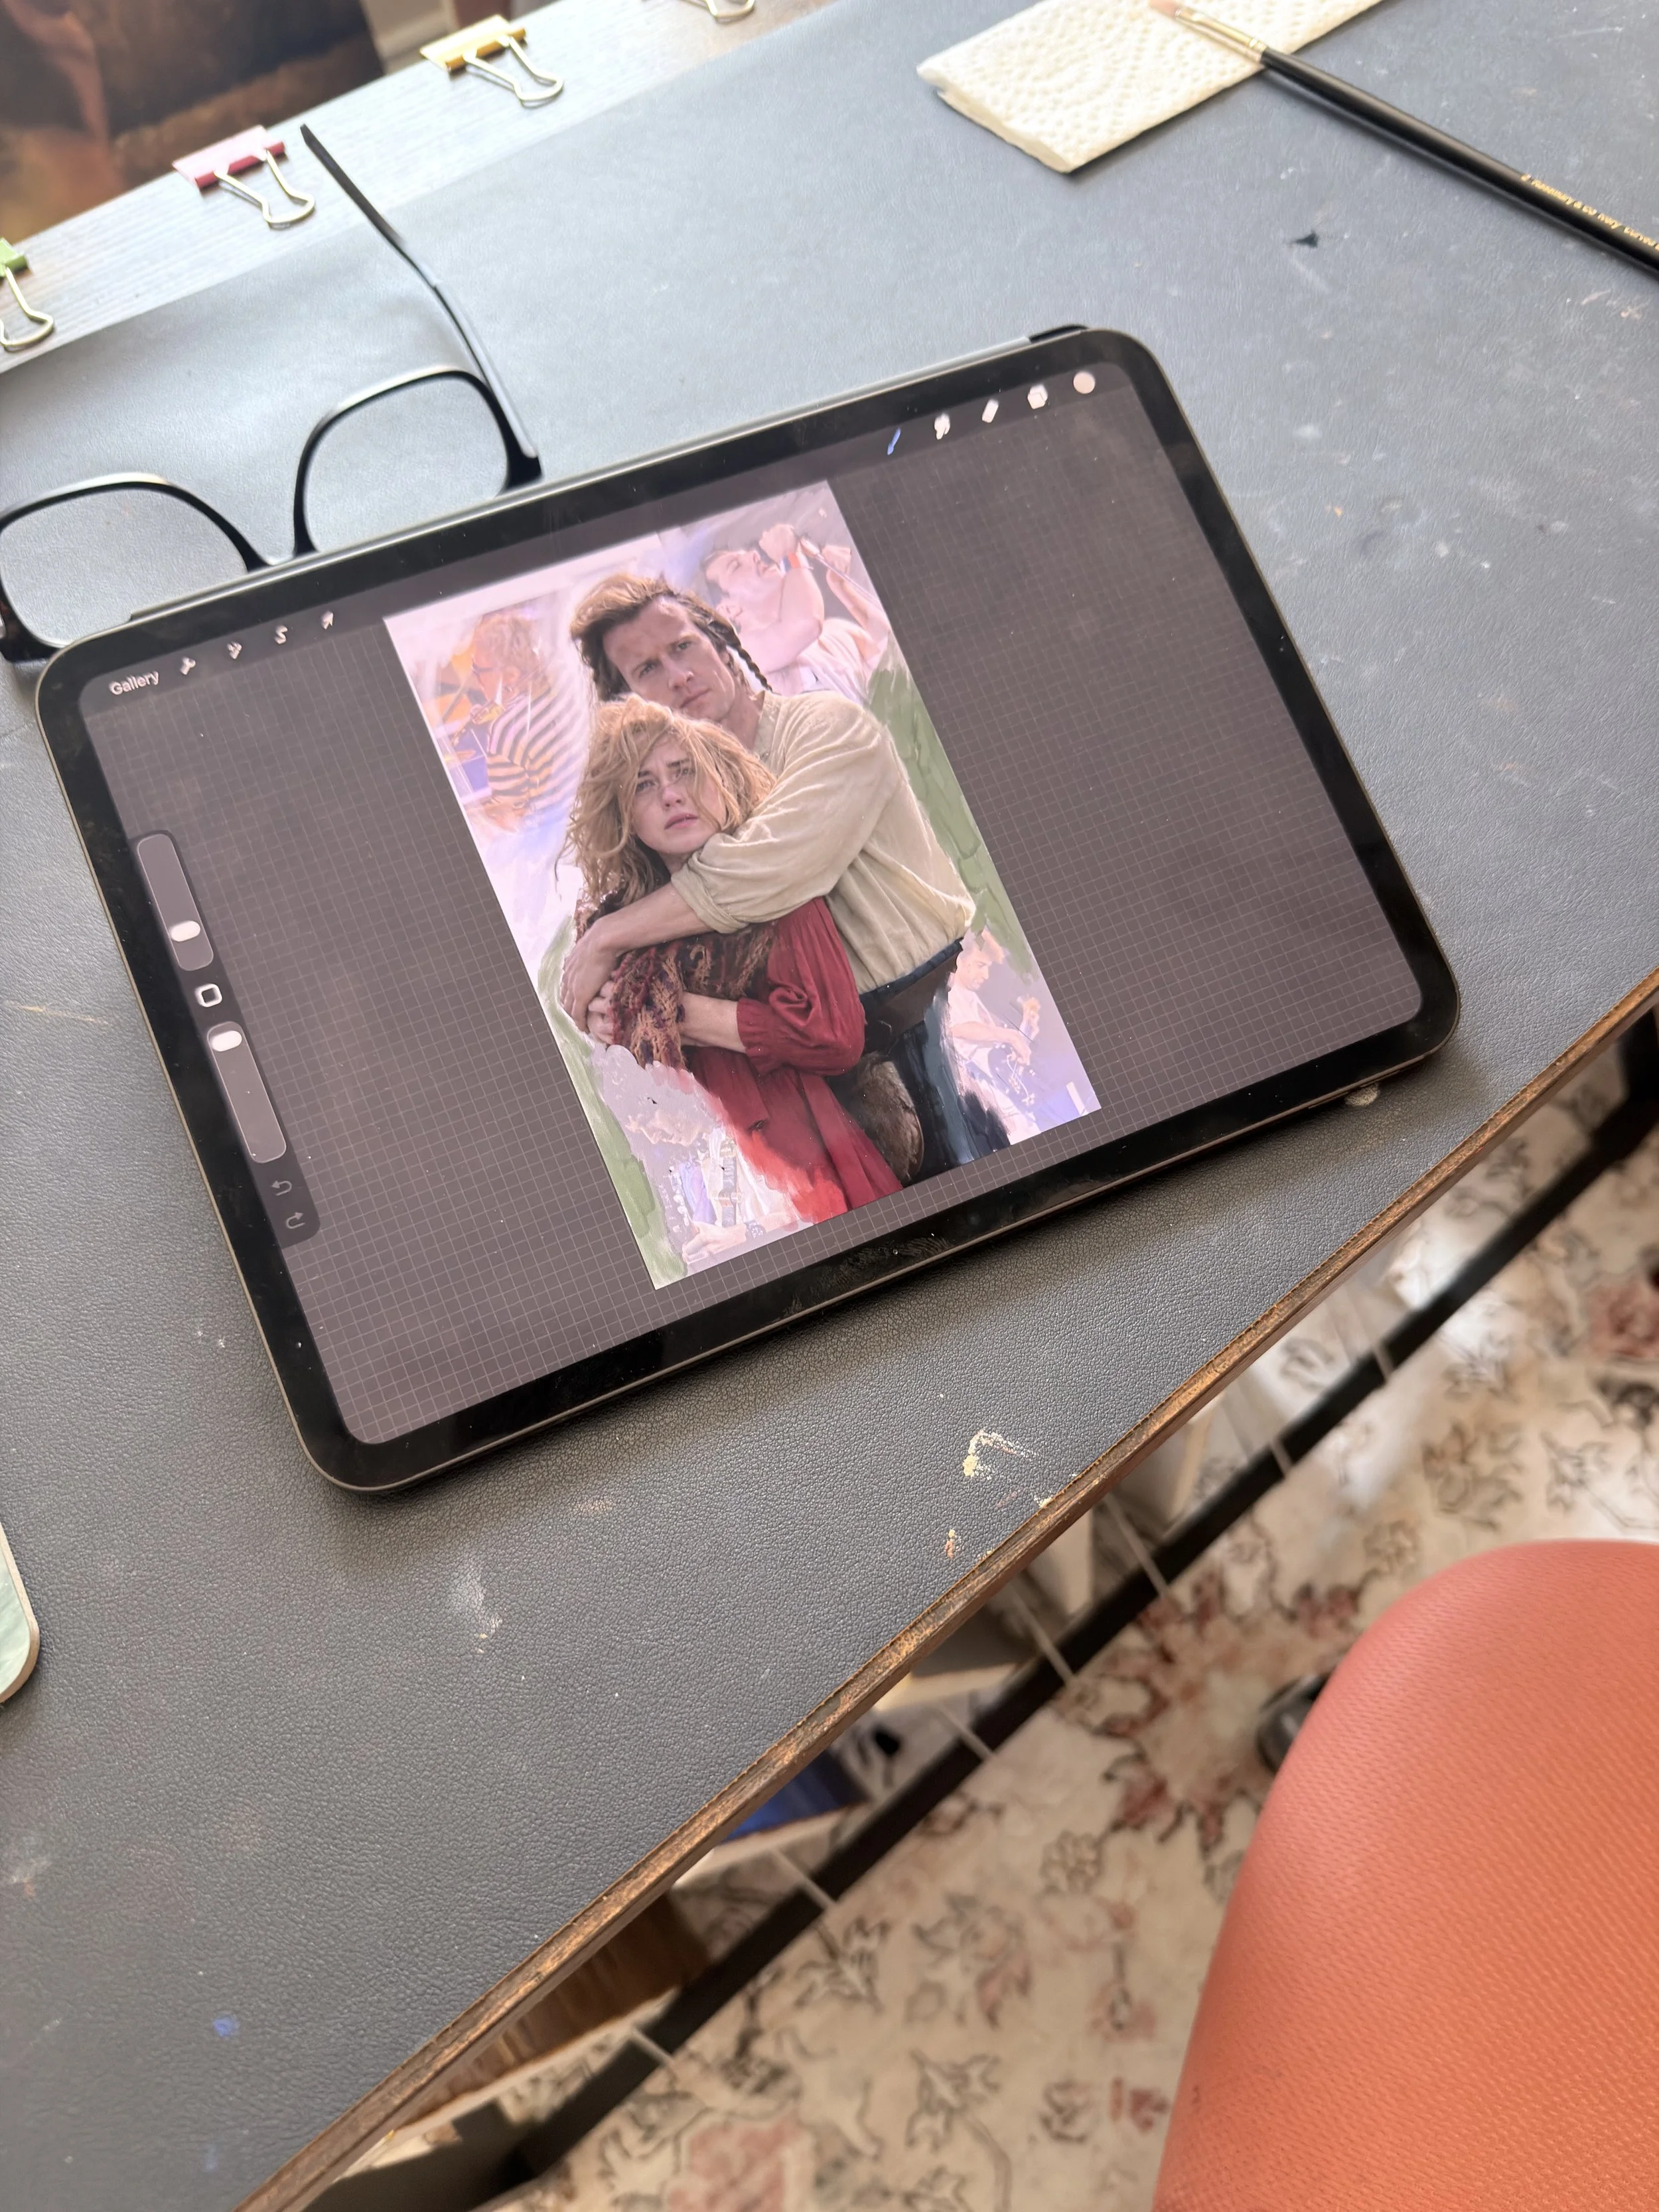
Working on a new concept for some fan art, a scene from the movie Highlander with the members of the band Queen surrounding the figures. Taking from a live concert where they sung the music to the movie.
Canvas Prep & Underdrawing
To prepare the canvas, I apply one or two coats of Michael Harding’s Yellow Ochre Primer. This provides a beautiful, warm undertone that shines through later stages.
Next, I map out a light grid using a charcoal pencil. The grid size depends on the scale and complexity of the work:
Large-scale canvases: Gridded down to 5 cm boxes for accurate scaling.
Smaller portraits/studies: Divided simply into thirds.
Finally, I complete the initial underdrawing. Over the years, I’ve learned that highly detailed underdrawings aren't necessary—much of that fine line work gets lost once the paint goes down anyway. Instead, I focus on capturing large shapes, correct proportions, and ensuring the overall composition remains true to my original vision.
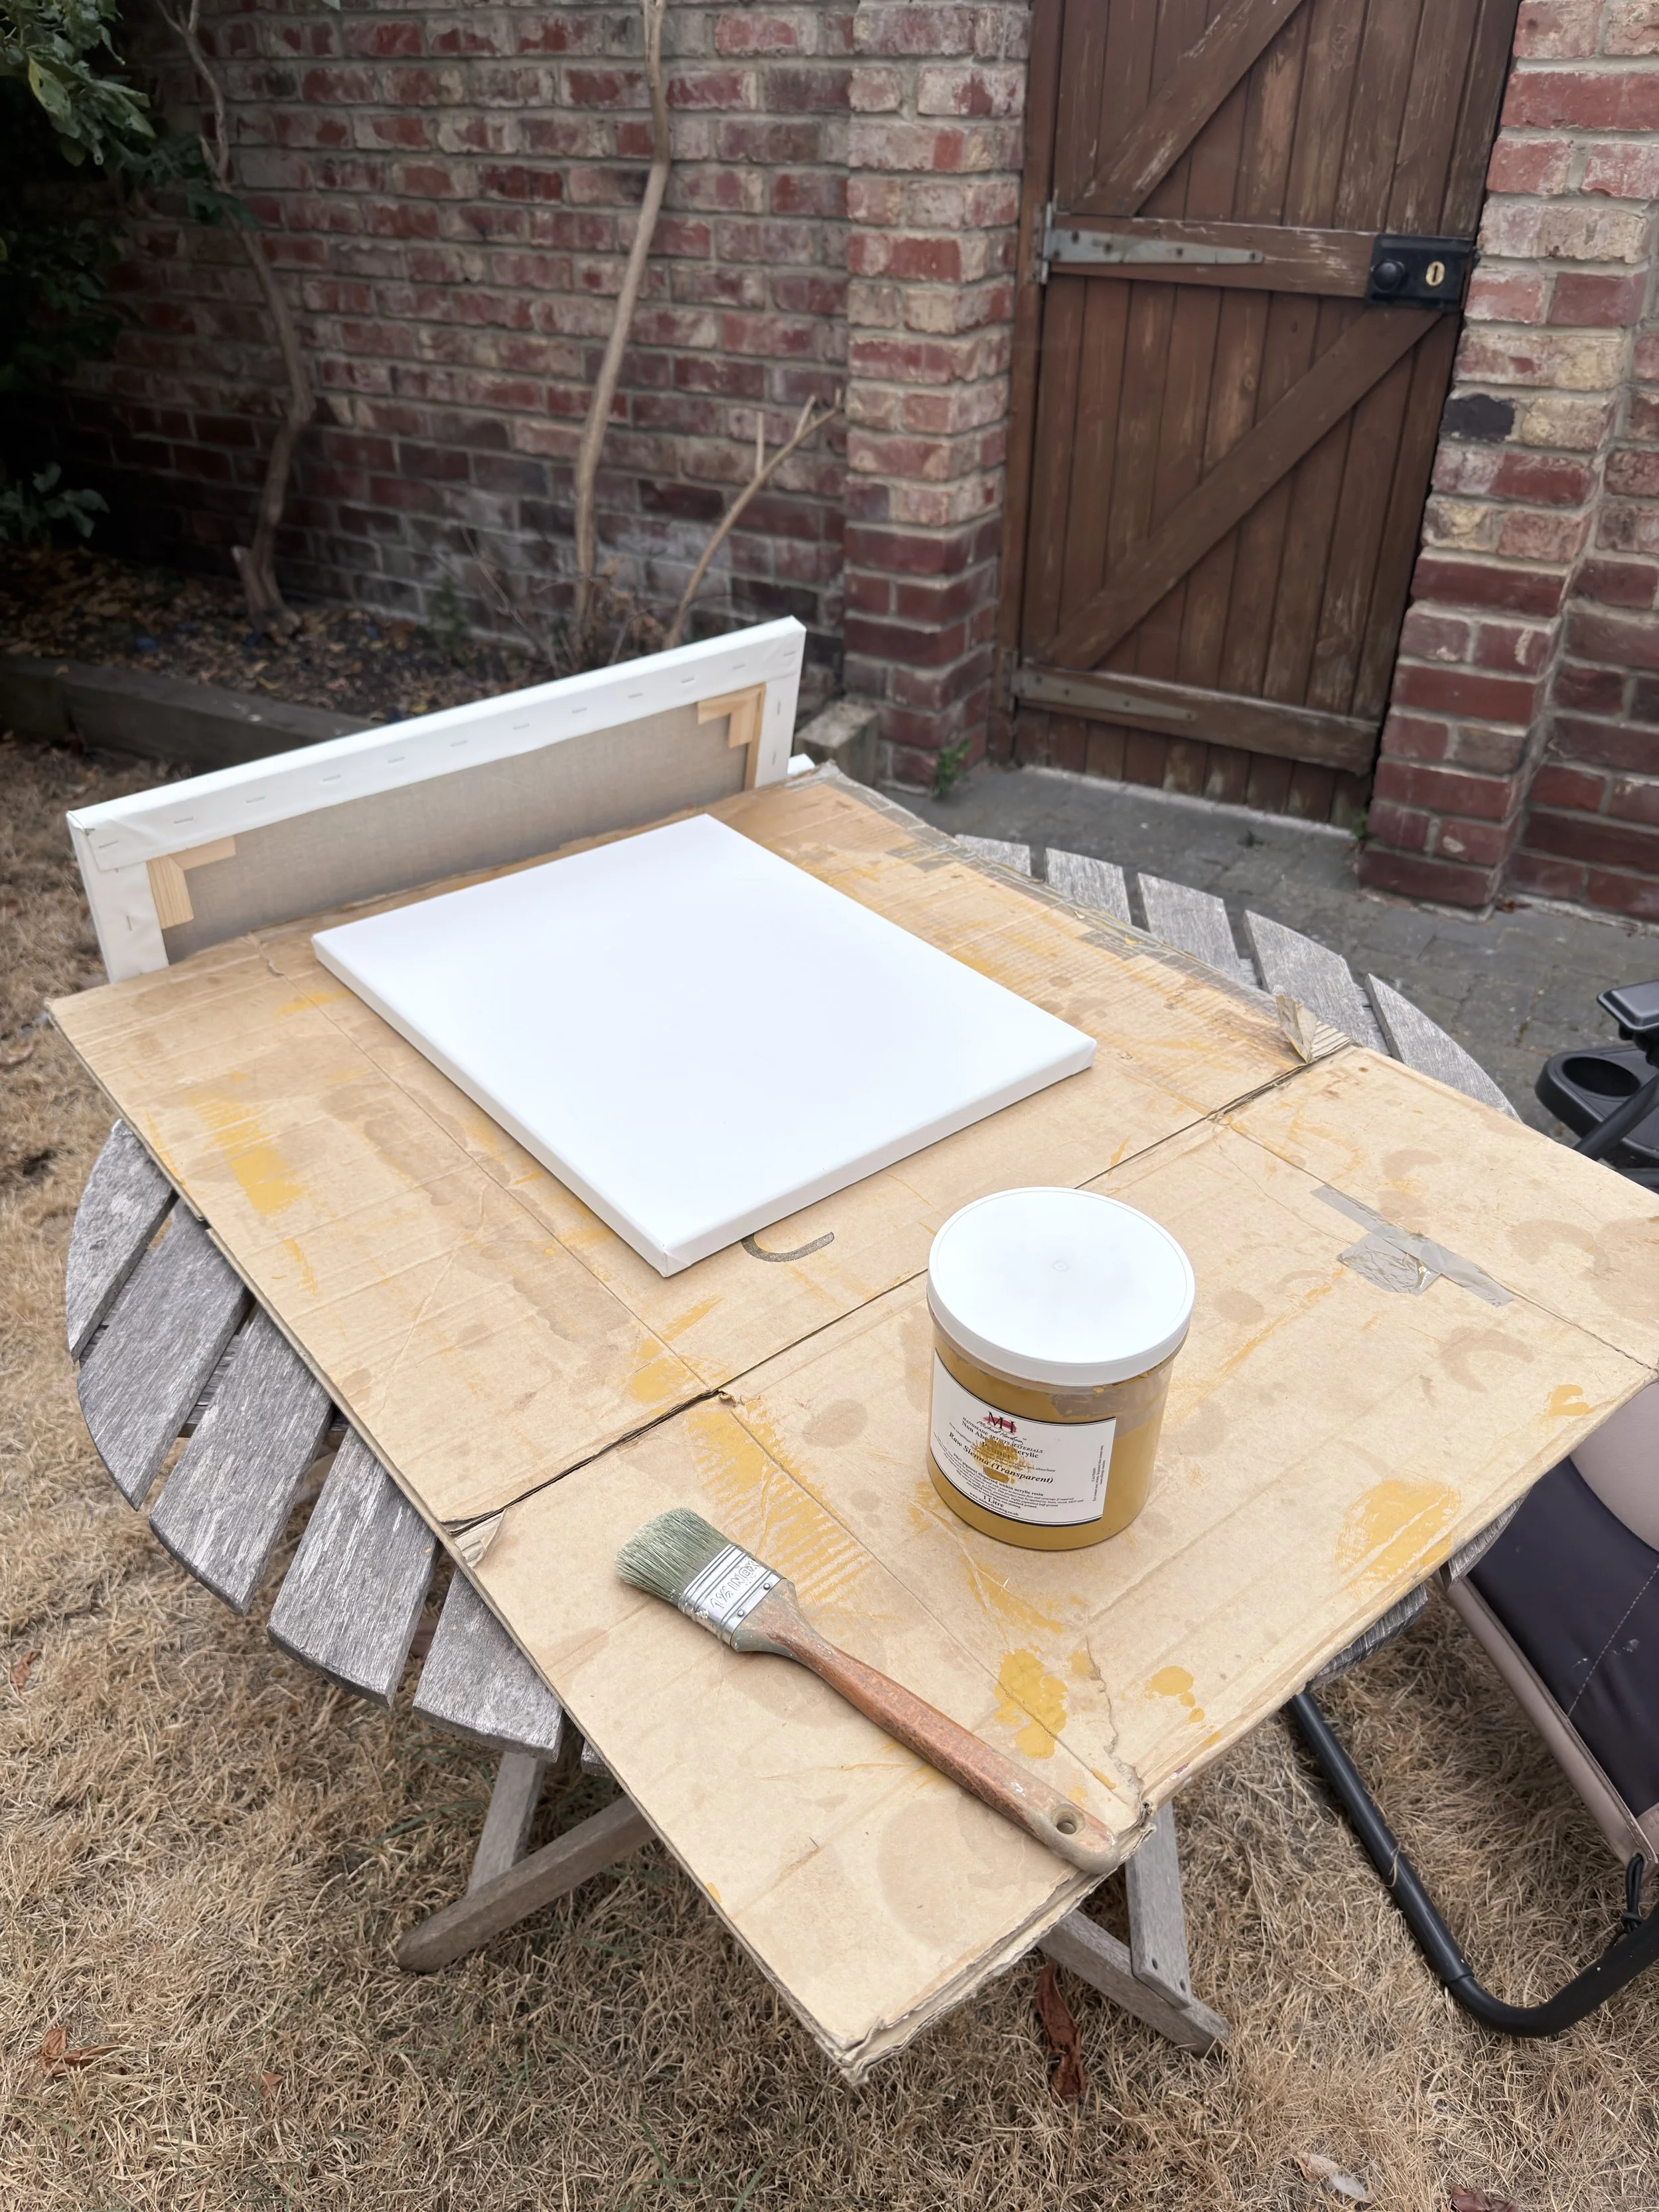
Prepping a canvas with Michael Hardings Primer
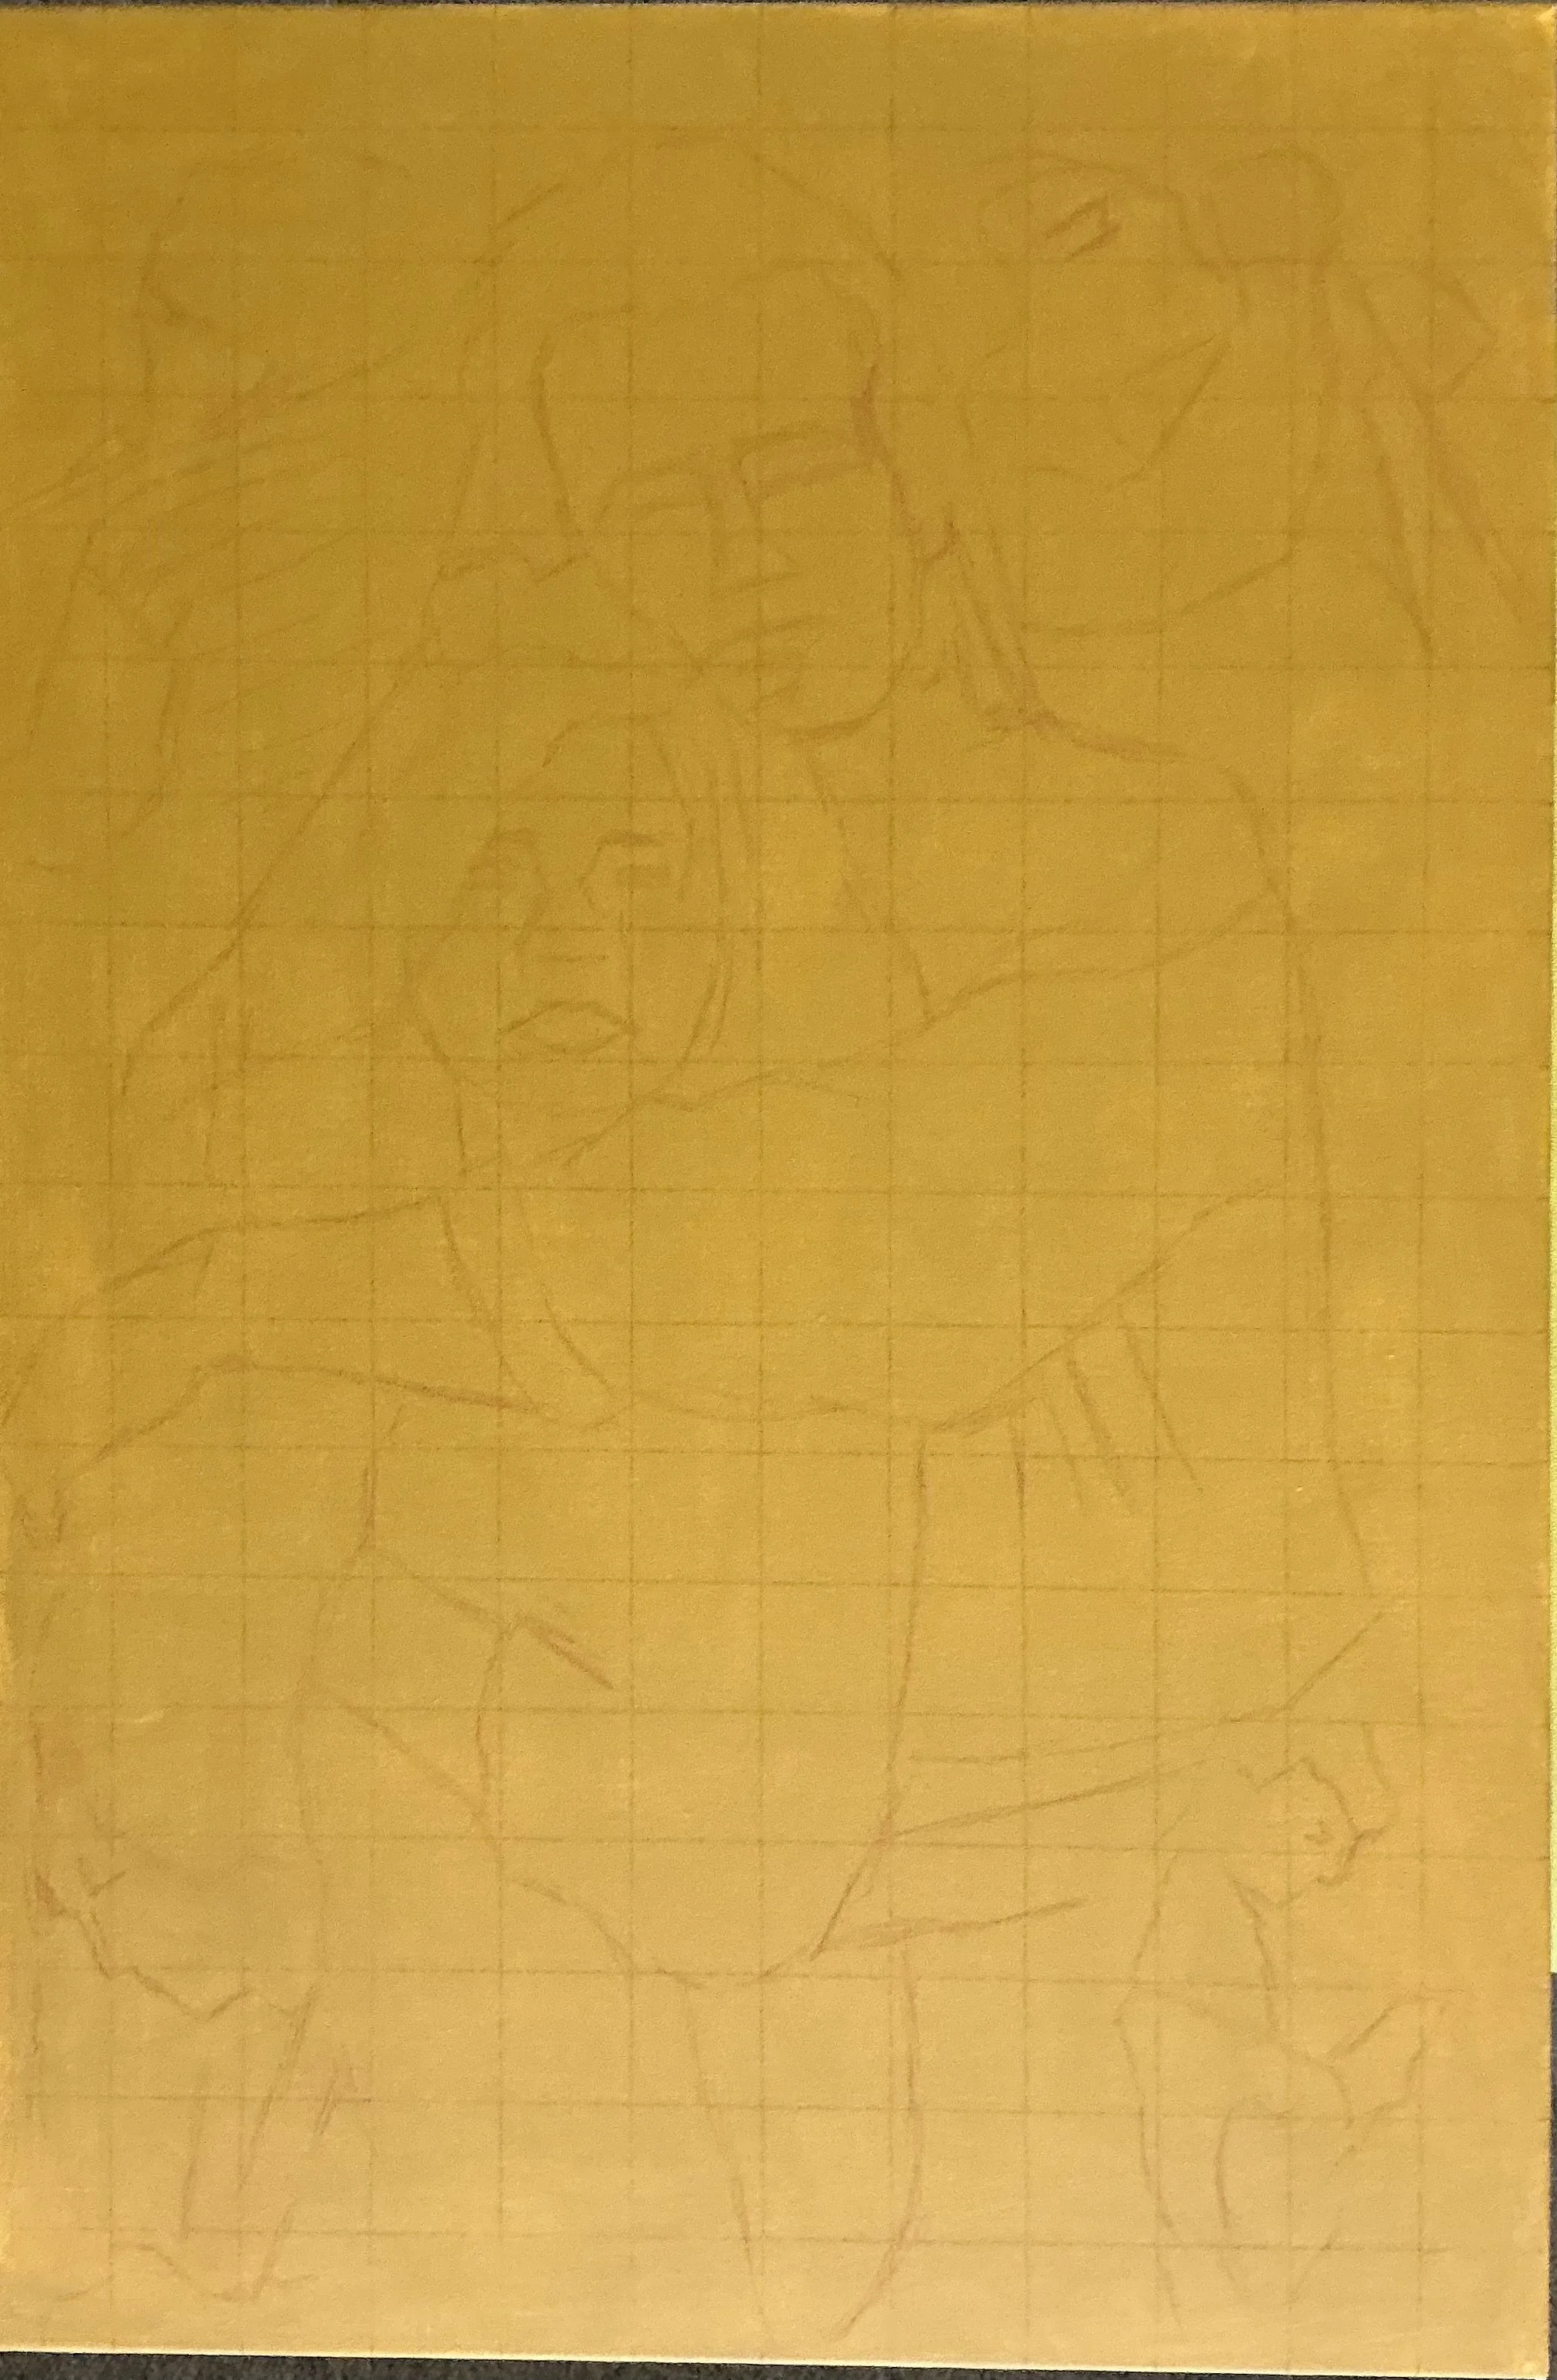
Using a grid to scale up.
Due to the scale of this new painting 36”x24” I find it helpful to lay down a grid approx 2” (5cm) in size. This method is usually only used for larger more complex painting.
Stage 2: The Underpainting
With the canvas prepared and the drawing established, I move to the first painting pass: the underpainting.
For this stage, I rely heavily on two specific Michael Harding transparent earth tones: Transparent Brown Oxide and Transparent Red Oxide.
The primary goal here isn't color—it's establishing tonal values and light distribution. The underpainting allows me to refine the drawing further while mapping out the darks and light accents across the canvas. I keep the paint thin and fluid at this stage, mixing the pigments with Gamsol and a tiny touch of stand oil.
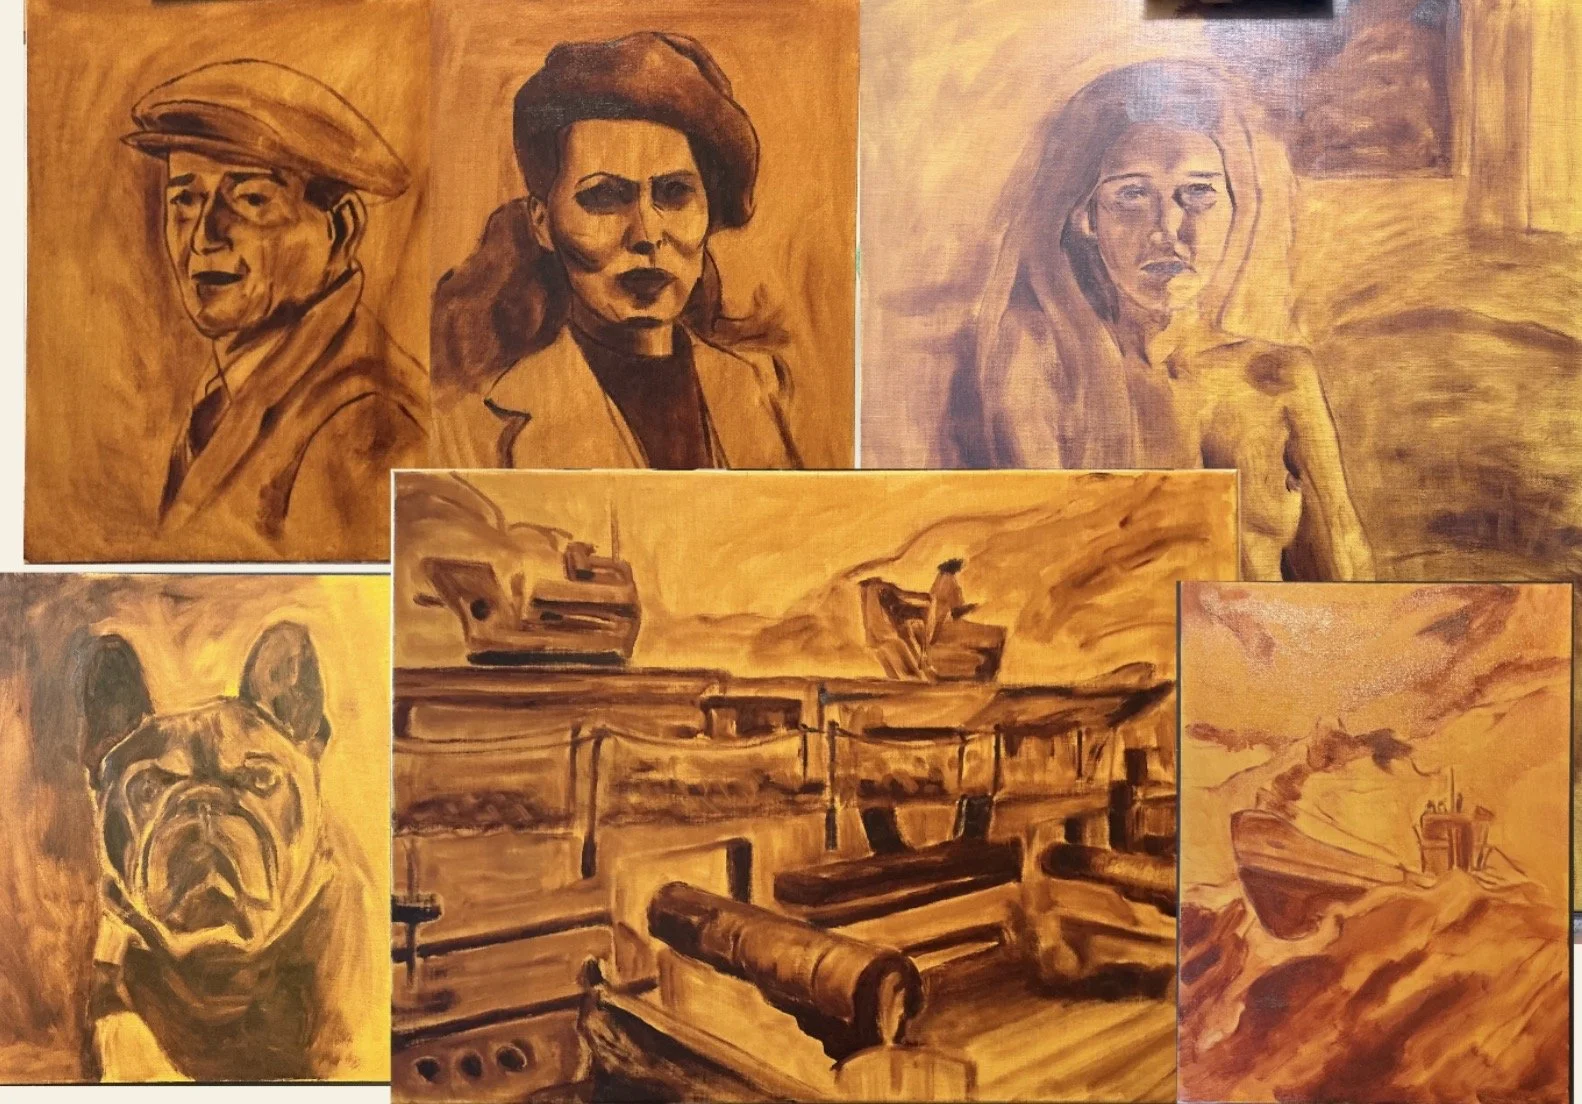
Examples of the initial tonal underpainting. Note the drawings are yet to be detailed as I try to keep to the larger shapes.
Stage 3: The Block-In and Main Painting Pass
Stage three is where the vast majority of my studio hours are spent. This is where the painting truly comes to life.
During the block-in stage, I lay down the full color pass. I continually refine values, adjust color saturation, and sharpen edges as I work across the surface. Oil paint is uniquely forgiving and versatile, allowing for multi-layered development over several days or weeks. I often build up two to three layers of paint, revisiting areas to ensure the depth and richness meet my standards.
This flexibility is especially valuable when working on custom commissions. The ability to adjust and build layers ensures the final painting matches—and hopefully exceeds—the expectations of the client.
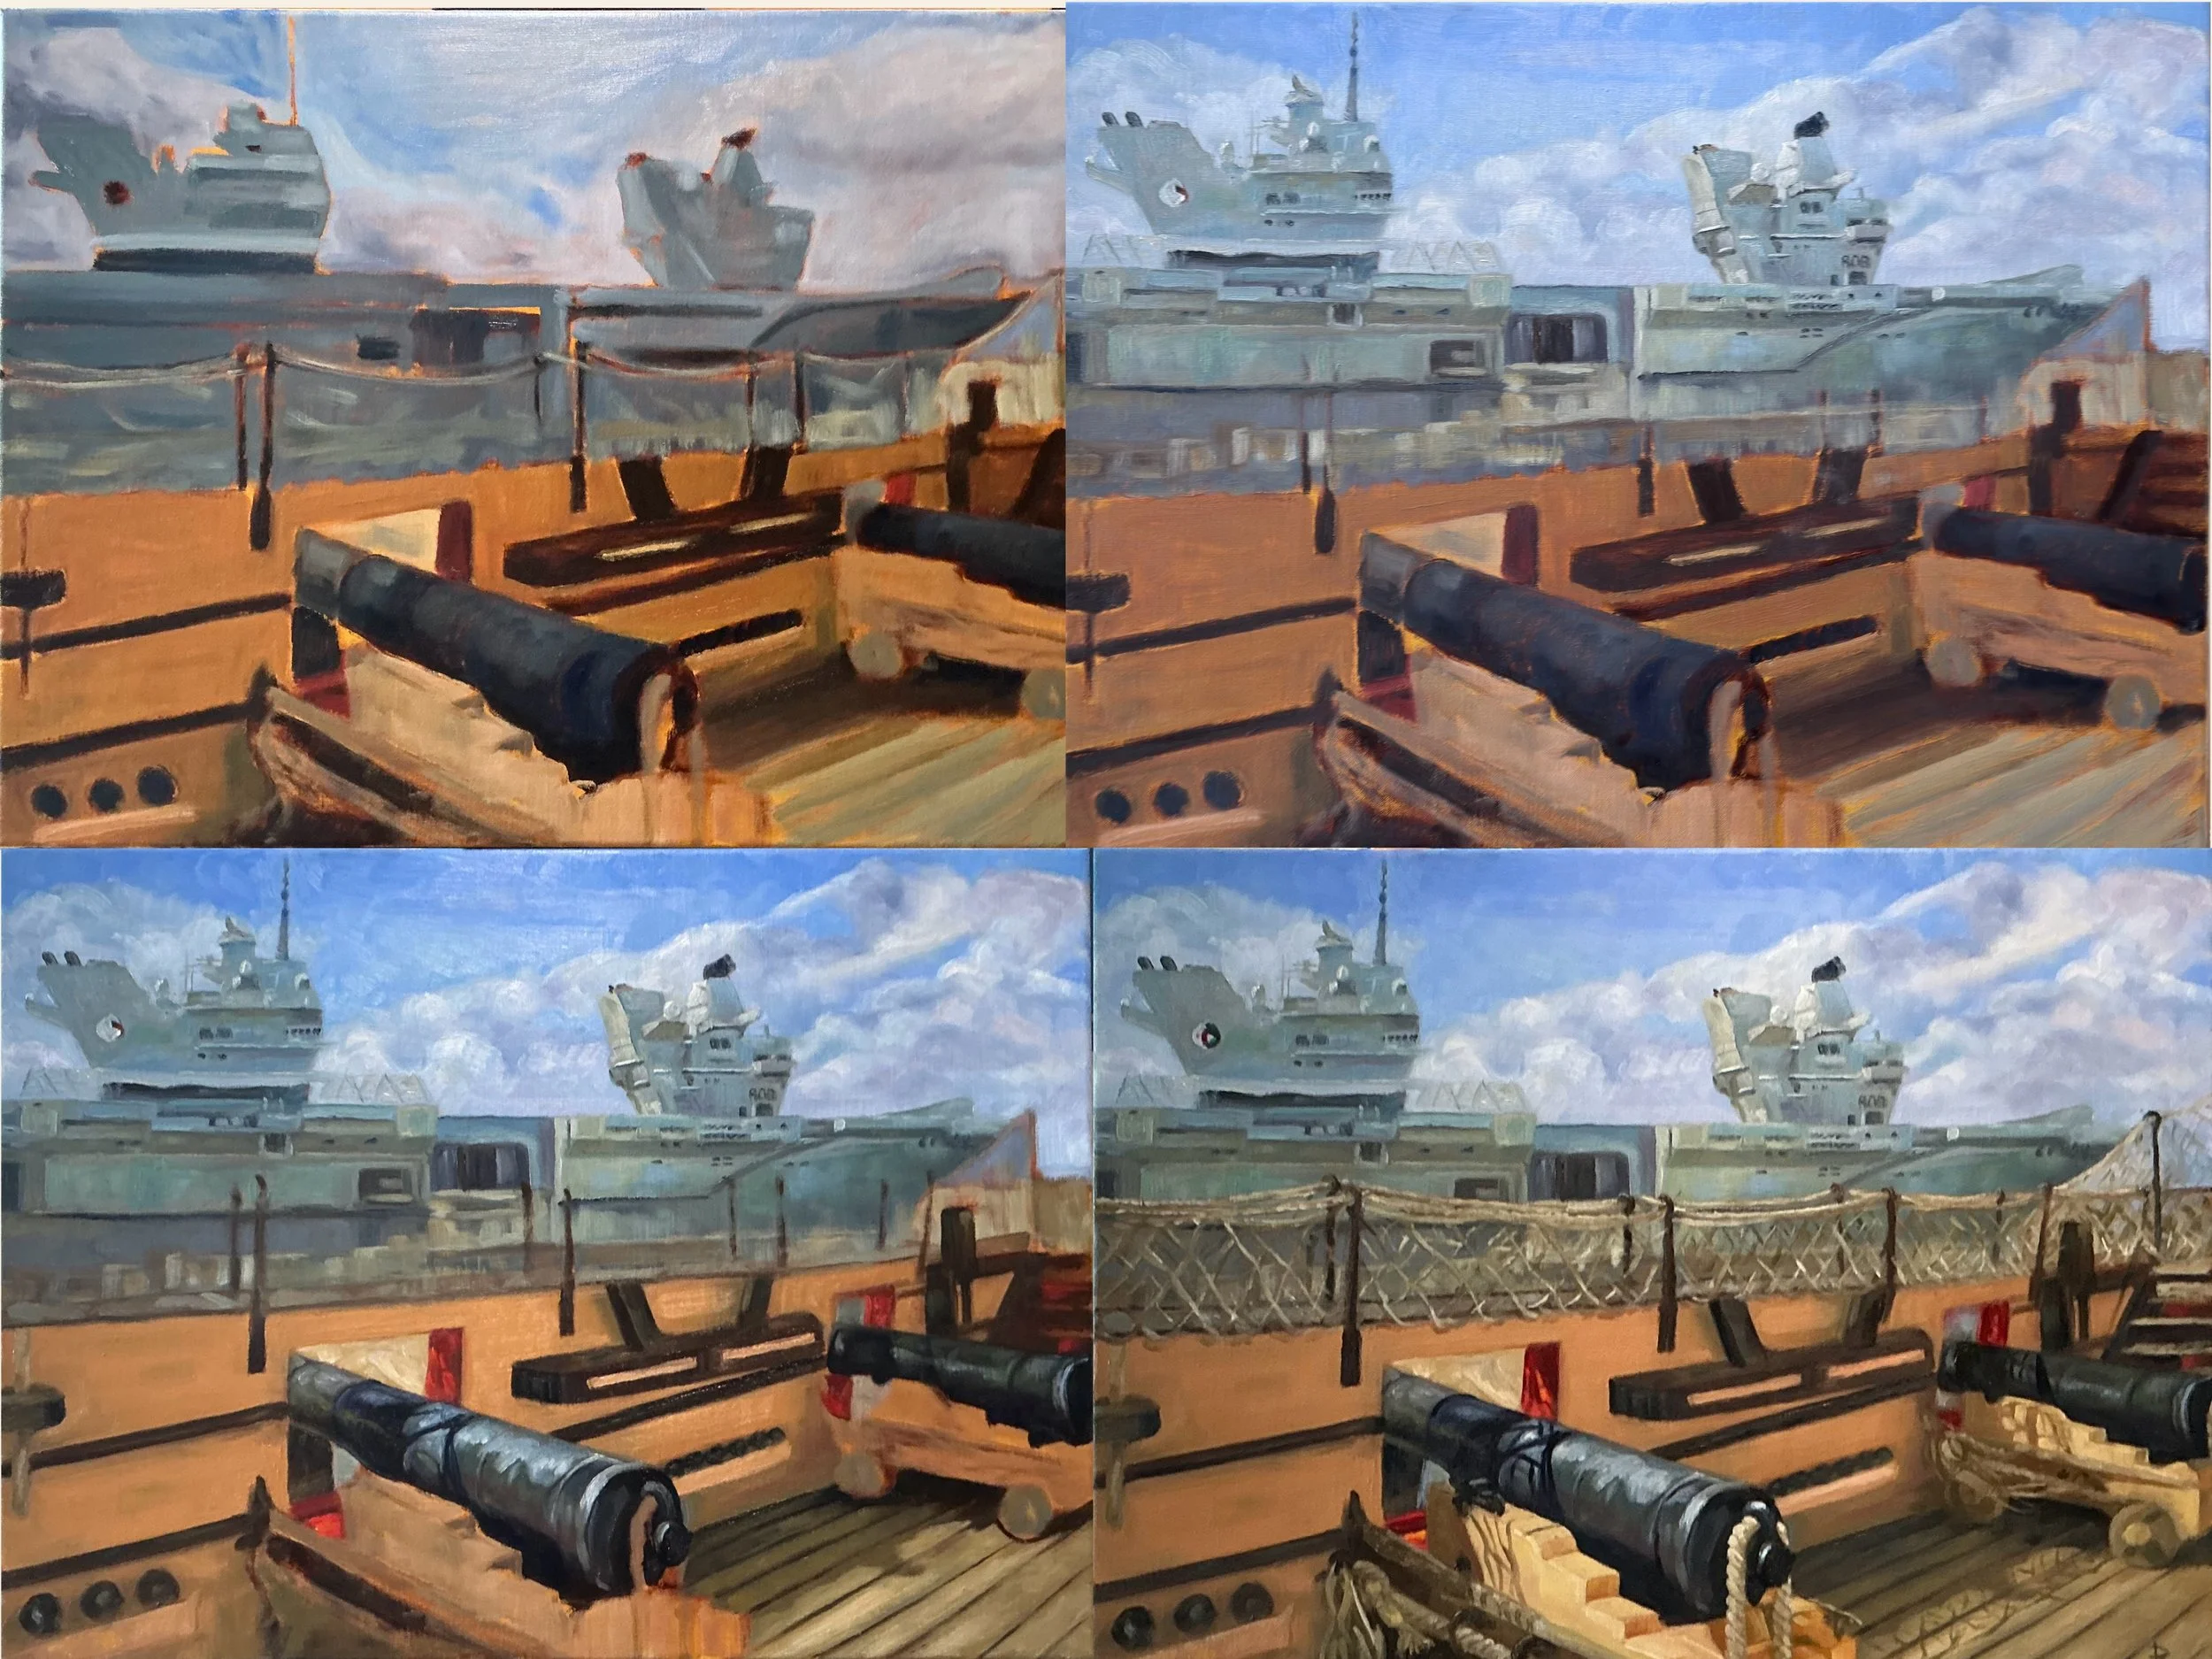
Example of a painting moving through the main painting stage. Refining the drain and colours as I proceed while attempting to keep the values correct.
Stage 4: Refinement, Rest, and Protection
The final stage is all about subtle tweaks and giving the artwork time to settle.
Once the main passes are complete, I step away and put the painting aside for a couple of days. Returning to a canvas with fresh eyes almost always reveals minor adjustments that can elevate the piece.
Studio Tricks for Perspective
To view my work objectively during this stage, I often use a few simple tricks:
Taking photos on my phone: Viewing the painting on a smaller digital screen highlights composition balance immediately.
Inverting or flipping the image upside-down: Removing the recognizable subject matter forces my brain to look purely at shapes, values, and abstract balance, quickly exposing any structural errors.
Oiling Out & Varnishing
Once final refinements are complete, the painting rests for a minimum of two weeks.
To protect the surface, I apply a coat of Gamvar varnish. While traditional varnishes require months or even a year of drying time before application, Gamvar is unique—it acts as a breathable barrier, allowing the oil paint to continue curing safely underneath while providing immediate protection against dust and dirt. This is particularly important for client commissions that need to be delivered in a timely manner.
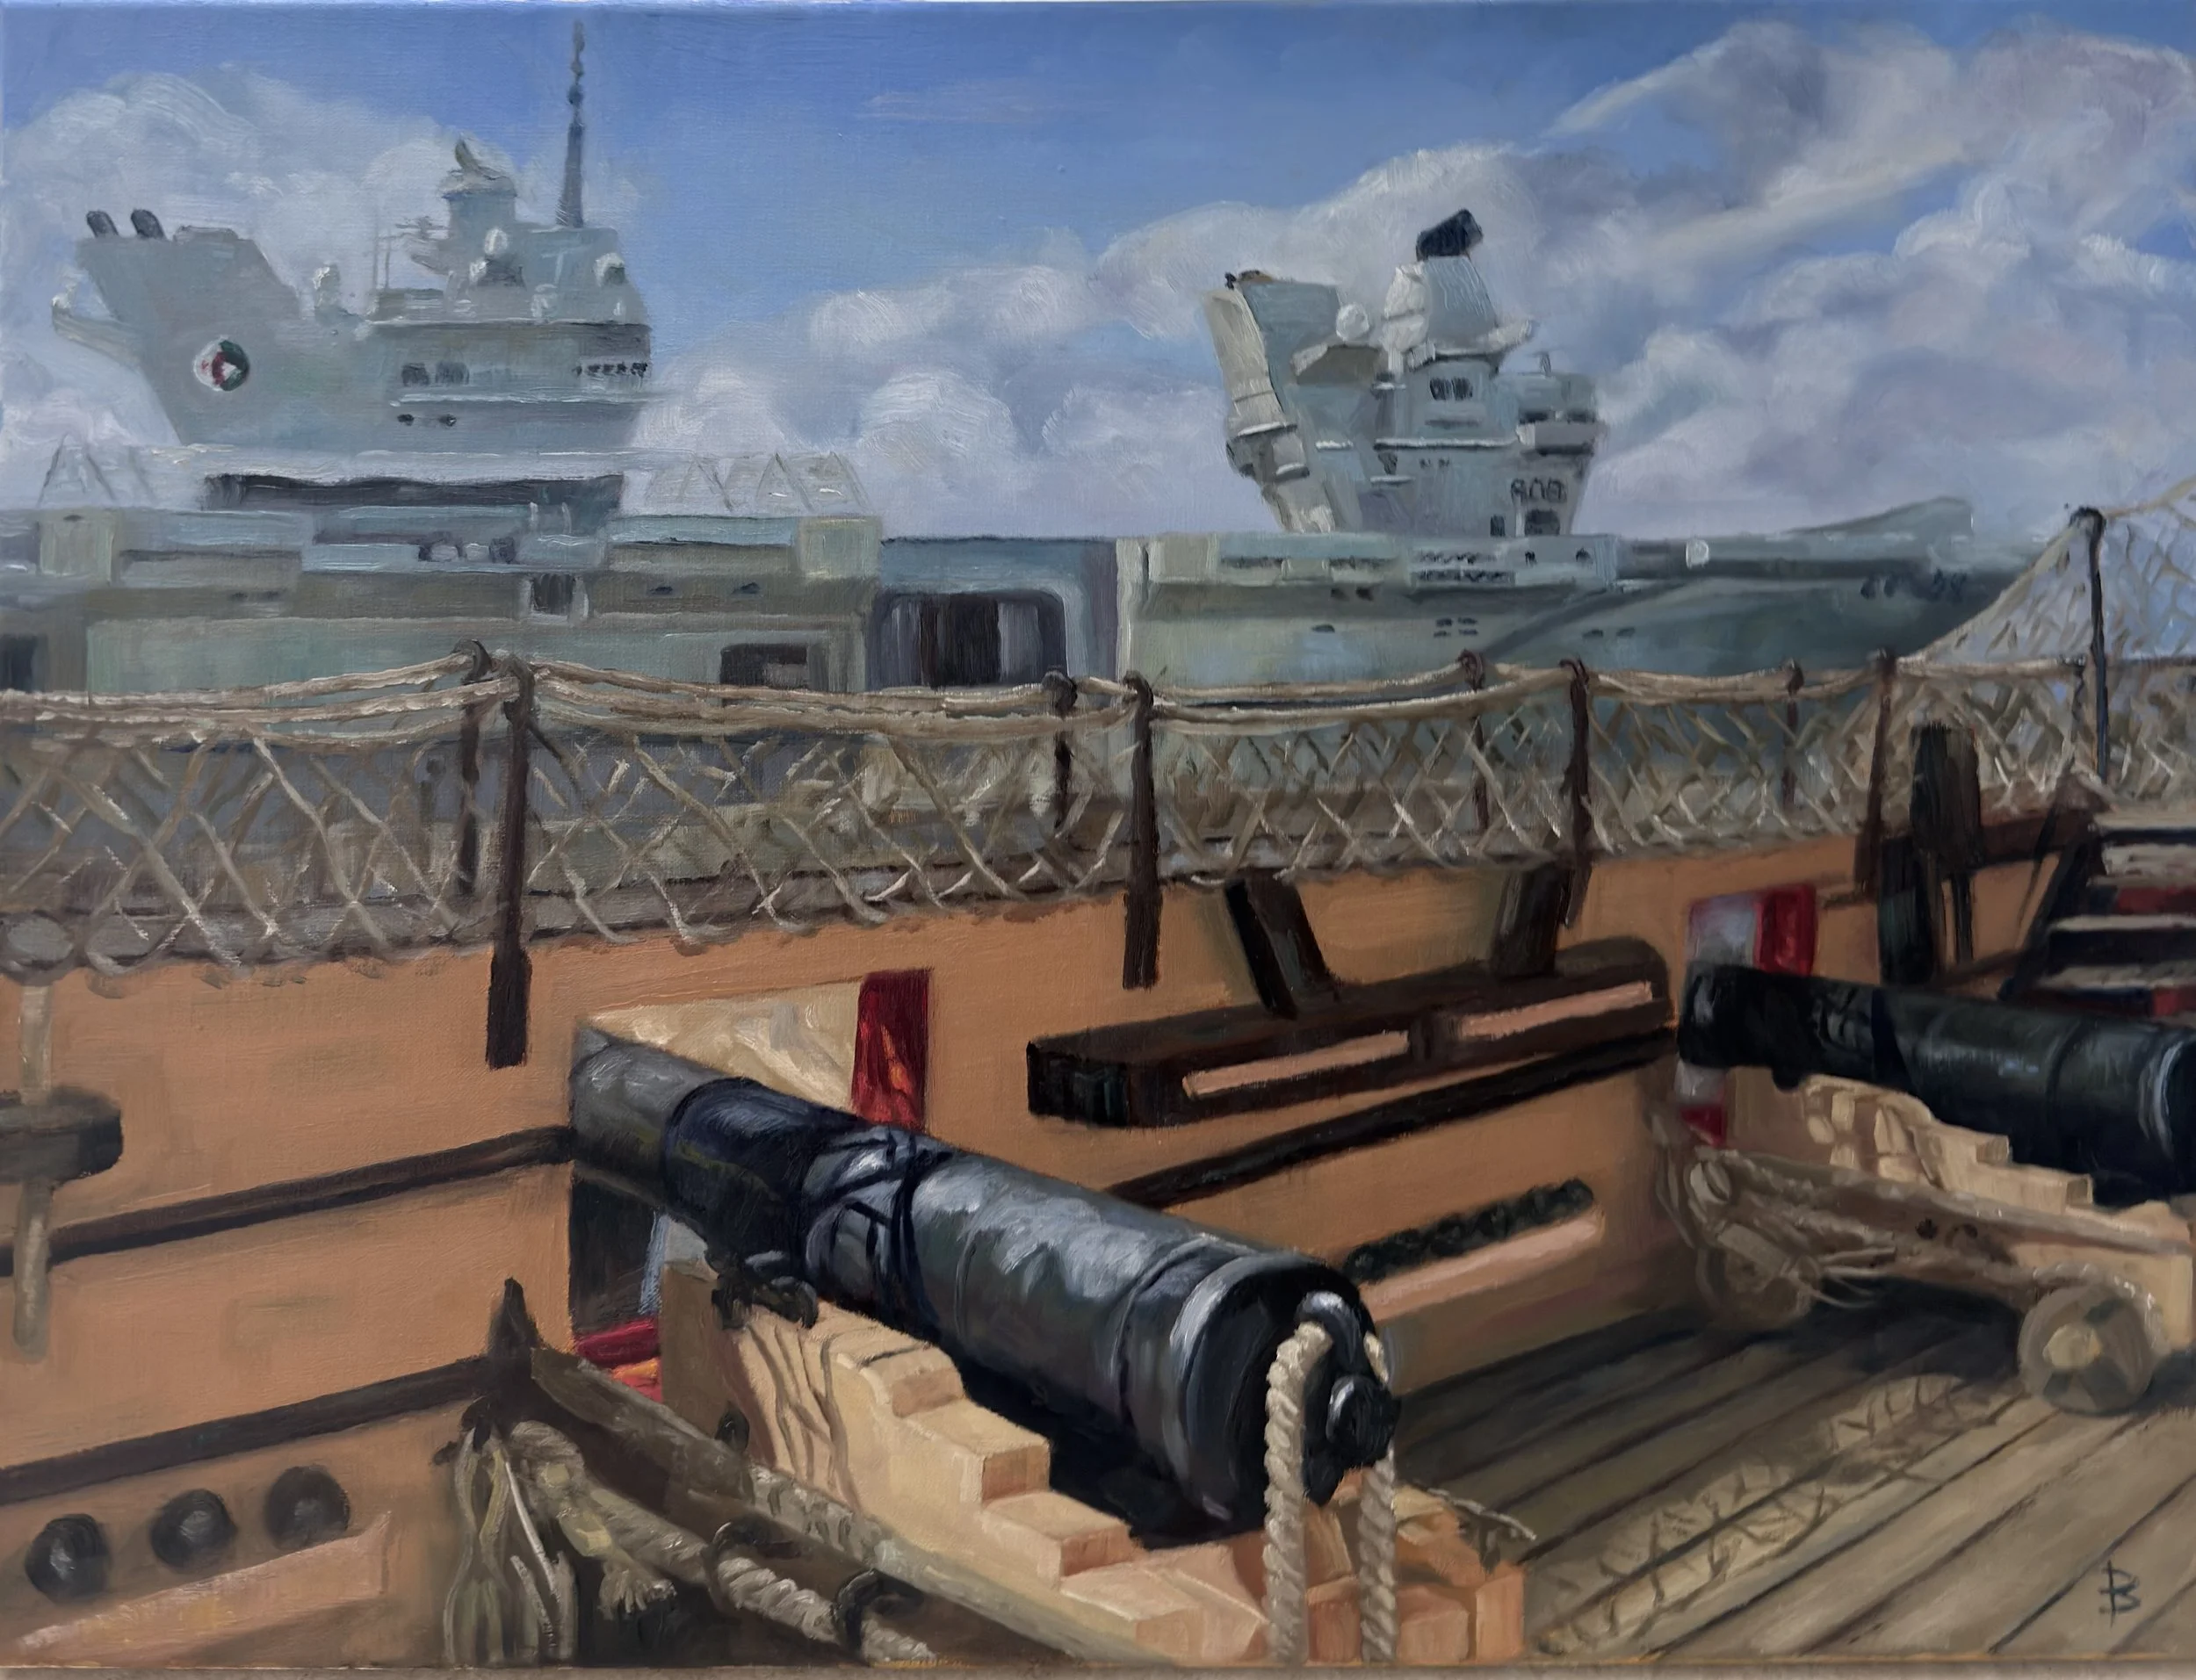
Completed Painting
Completed Painting of HMS Queen Elizabeth from the perspective of the top deck of HMS Victory.
Located in the Portsmouth Historic Dockyard.
This is an example of the final stage of refinement and adding a coat of varnish.
Finding Your Own Flow
Developing a painting process takes time, patience, and a lot of trial and error. The four stages I use today are the result of 12 years of learning what gives me the best balance of structural control, color depth, and artistic freedom.
Whether you're an artist looking to refine your own studio process or an art lover curious about how oil paintings come together, I hope this glance behind the scenes gives you a deeper appreciation for the journey behind every finished canvas.
Have questions about my painting process, or interested in commissioning a bespoke oil painting? Feel free to reach out via my Commissions Page or leave a comment below!
