
In Depth Process View and Decision Making
Looking into my thought process as a I work through a larger original piece for my shop.
The idea behind this painting is linked to a series of paintings I’m working on. This series is focussed on the female form in nature. The first 2 of this series can be found on the website, both of which are females in barns. With this painting, I wanted to move the figures to an outdoor view, and I was keen to make this view a Scottish Highland scene.
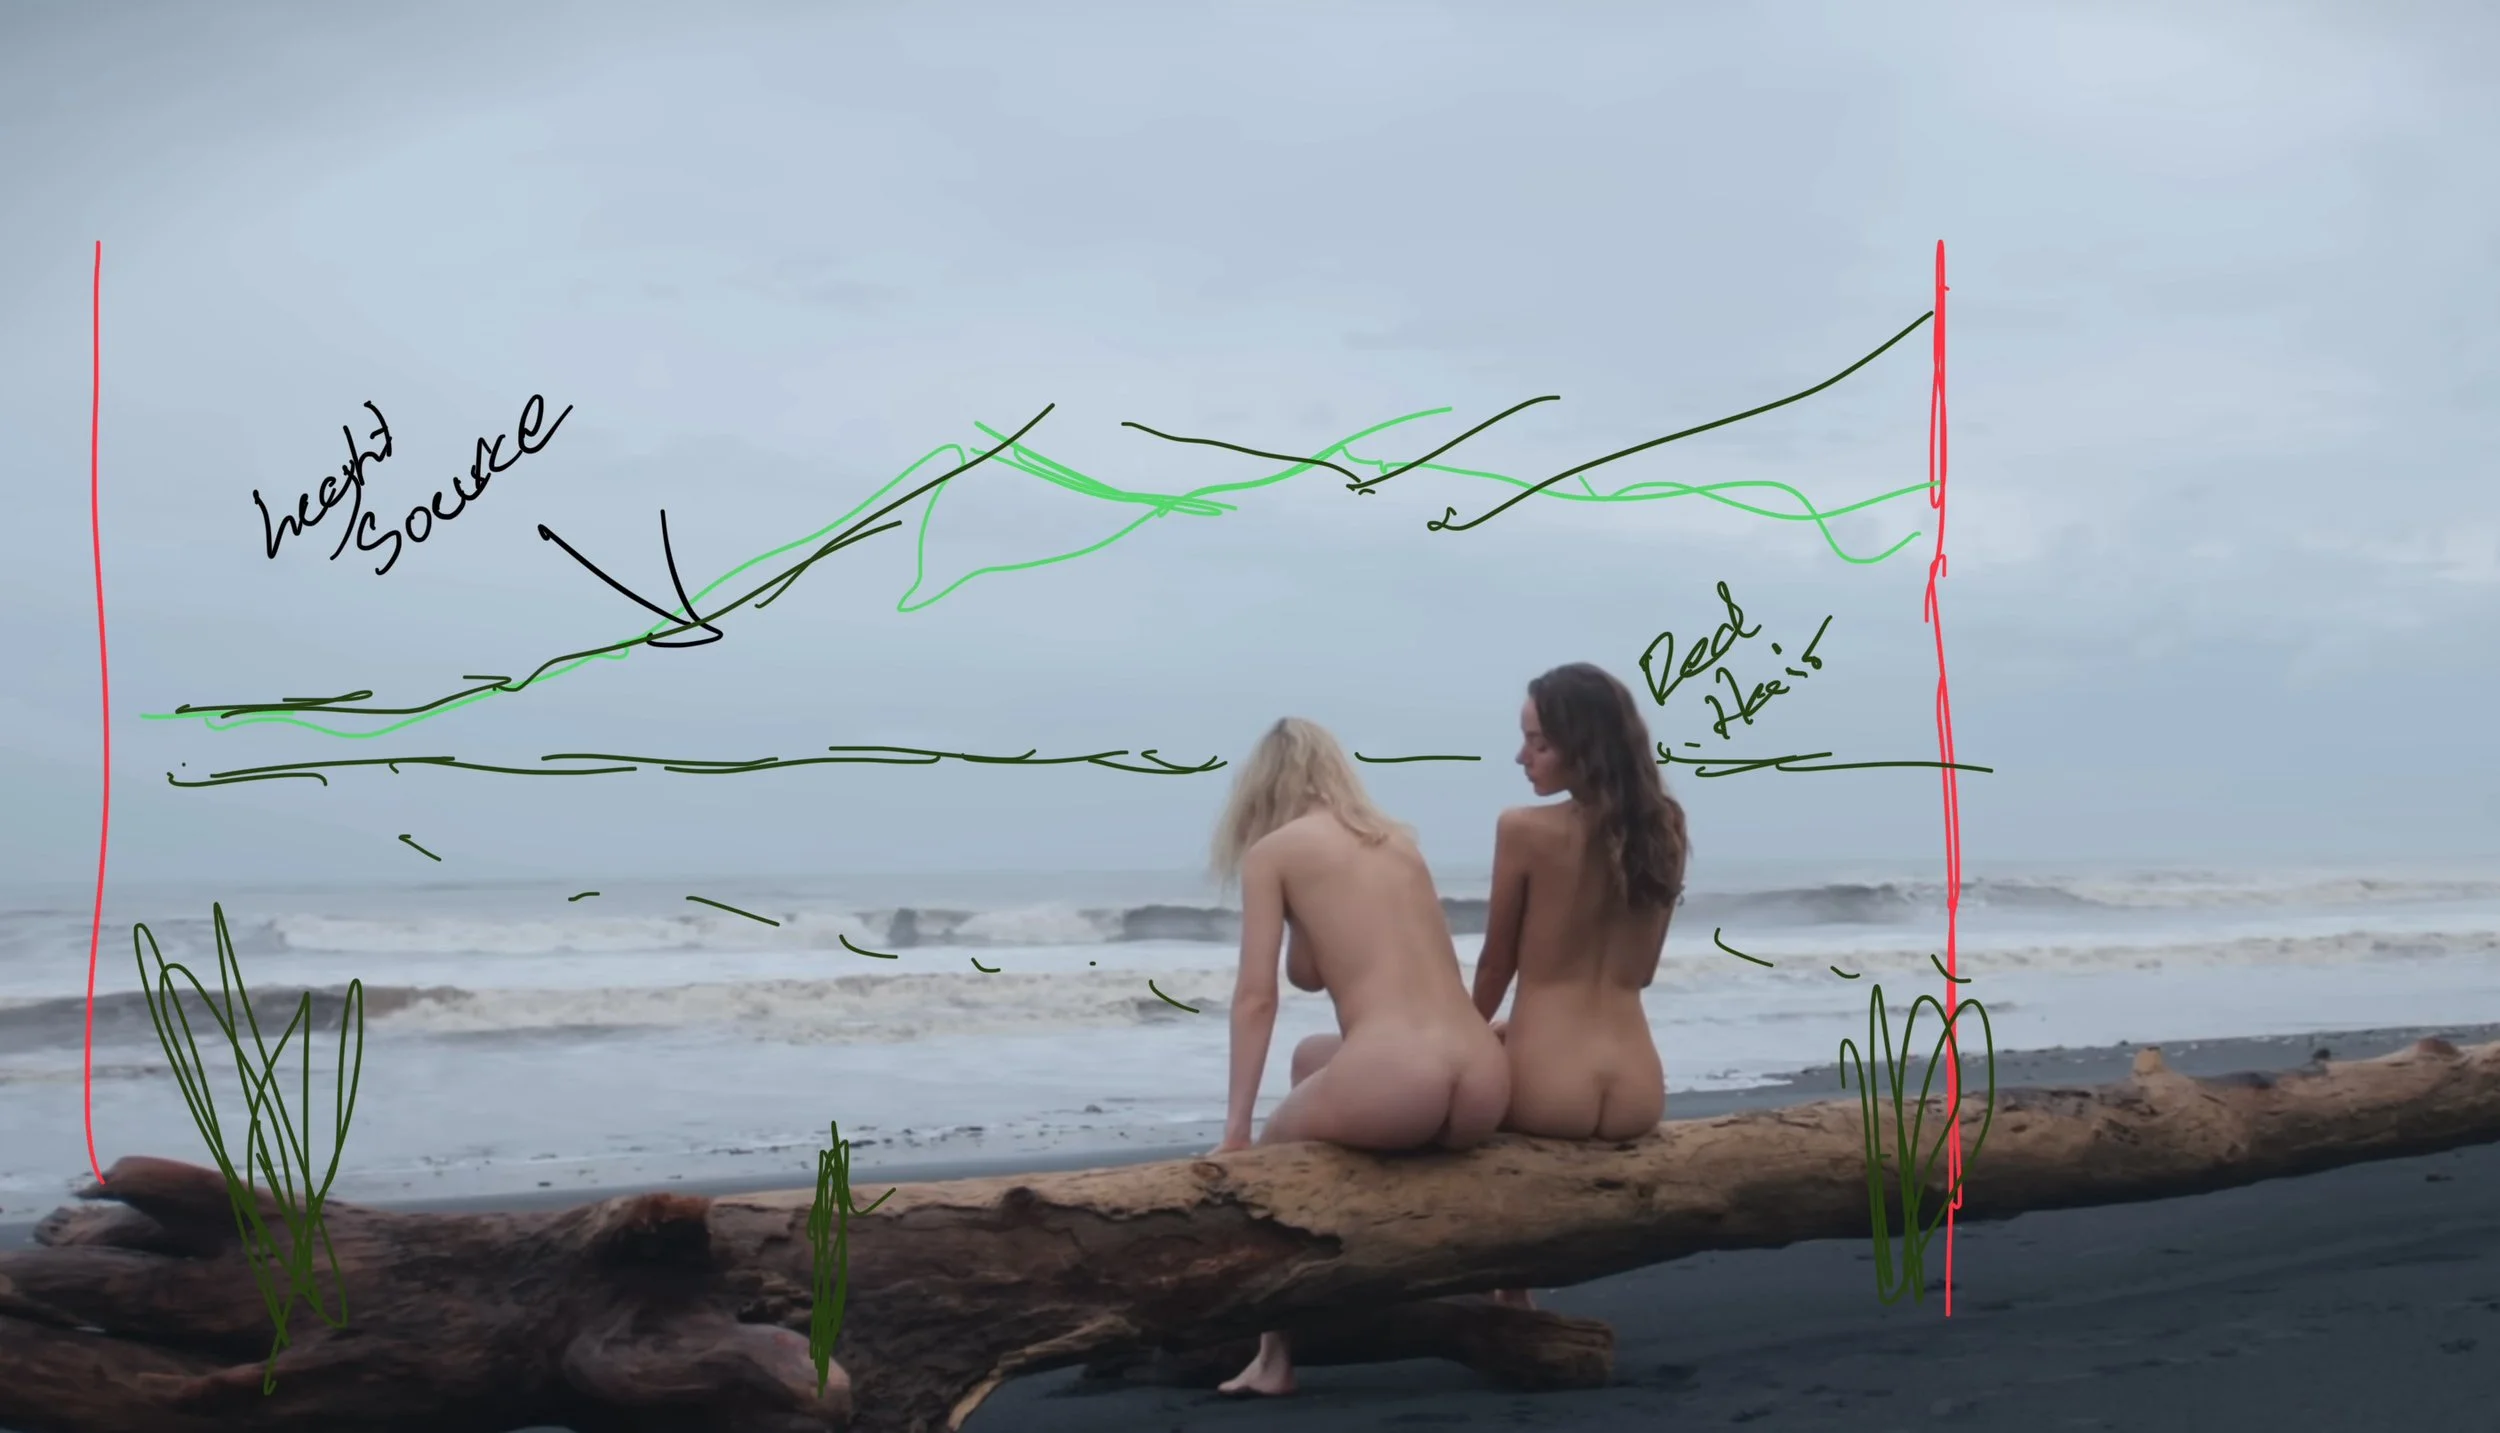
The Idea being drafted
My first stage is to locate some references and have an idea of what I wanted the scene to look like. As you can see from the picture above, I found a good reference photo for the two female figures, but the scene was quite dull and it didn’t meet my requirements of a Scottish scene; however, it was suitable for me to look at how I wanted the composition to turn out and where to place the major subject matters on the canvas. I used some reference photos from online of Scottish hills, which enabled me to get a good understanding of the colours and a potential scene that I wanted to create.
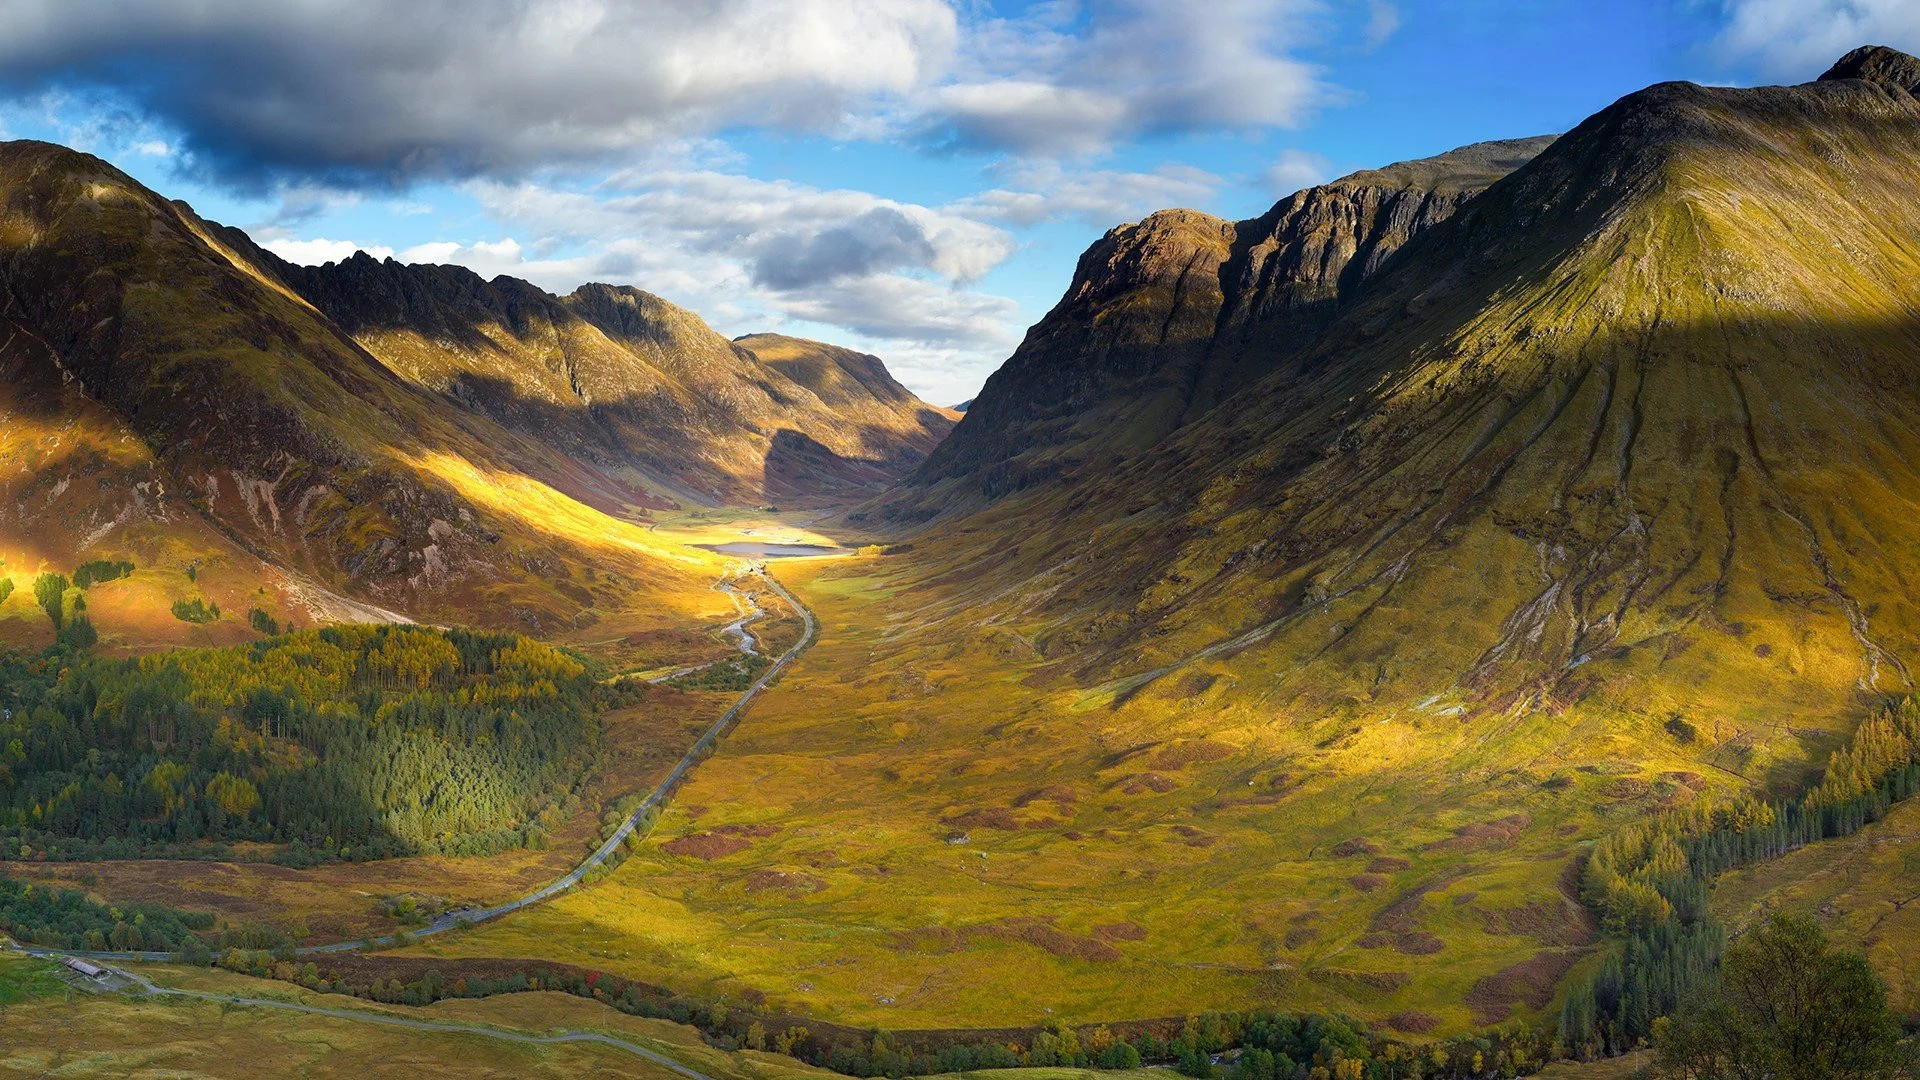
Reference
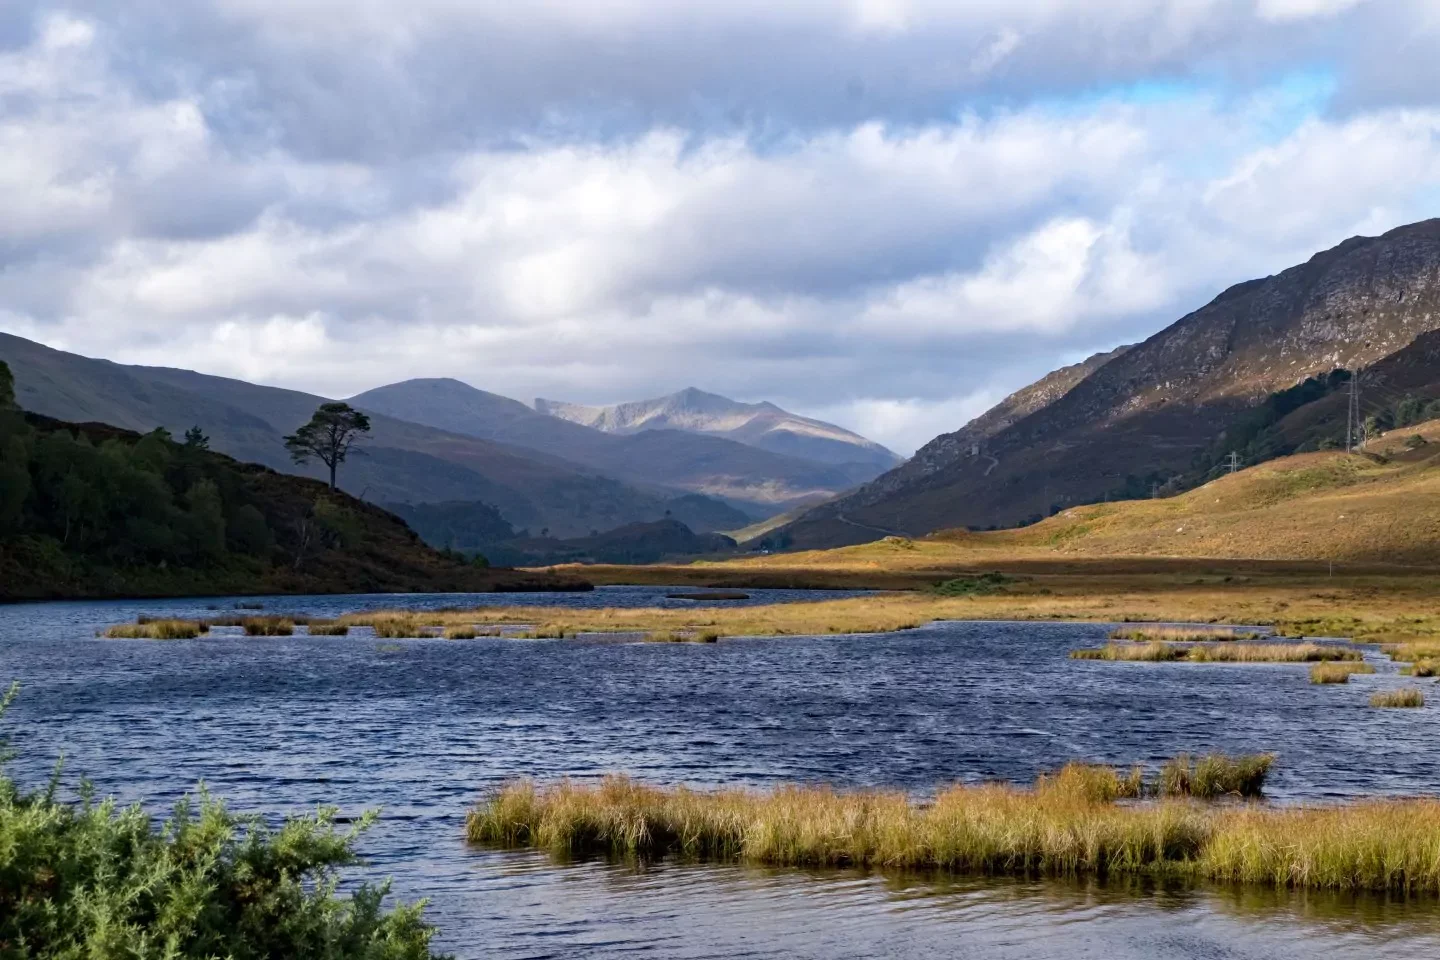
Reference
I was happy with the overall idea. I prepared a canvas in yellow ochre. As this canvas is 76 cm by 60 cm, I placed a loose grid onto the canvas so I can position the major subject matters correctly. At this point I’m trying to ensure the focal point, which in this case is the female figures, are sitting in an area that draws the eye. This scene helps with some good strong horizontals, with the far shore bank and the near shore and the log that the girls are sitting on.
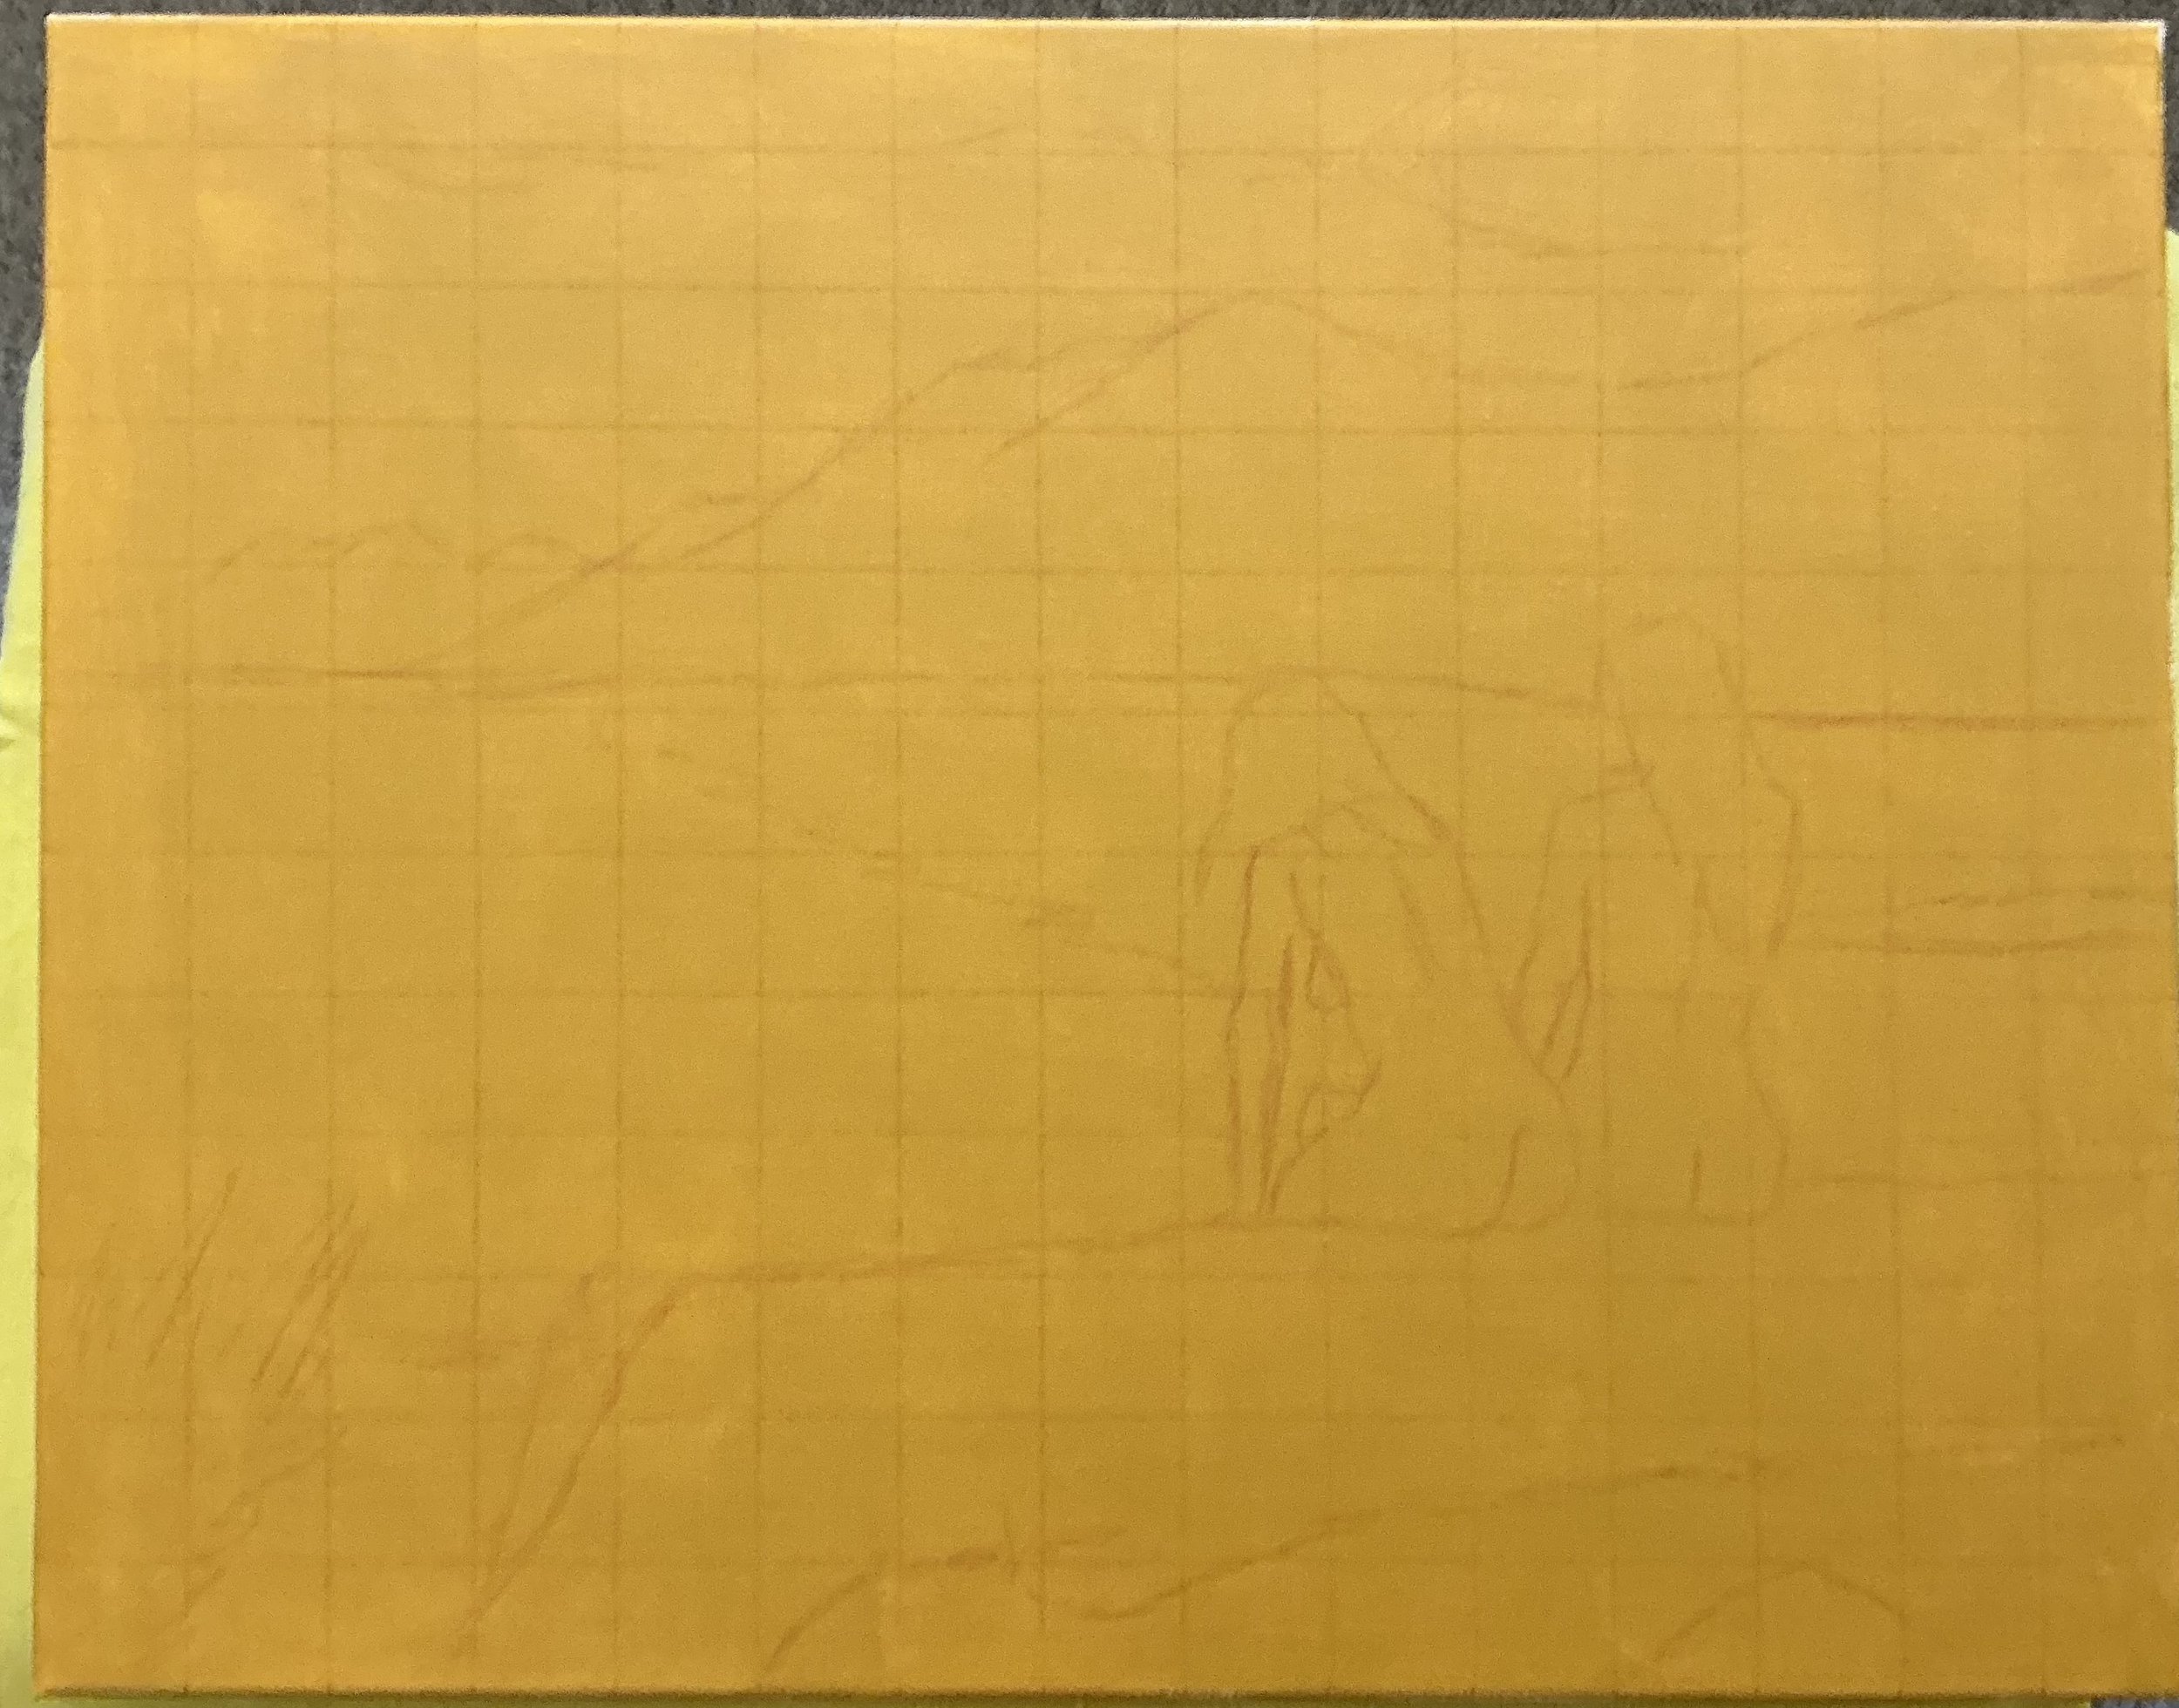
Initial sketch
Once I’m happy with the drawing, I move quite quickly to put down a layer of paint using transparent red oxide. This helps me solidify the drawing and make sure I’m happy with the composition. It also allows me to look at the tonal values and balance of the painting. My main concern here is not trying to get everything accurate, but the placing of the subjects and a feeling of where the light will be coming from. As you can see from the attached picture, the shadow of the far-side mountains was too dark, so I knew I needed to correct this when I moved on to the initial colour layers.
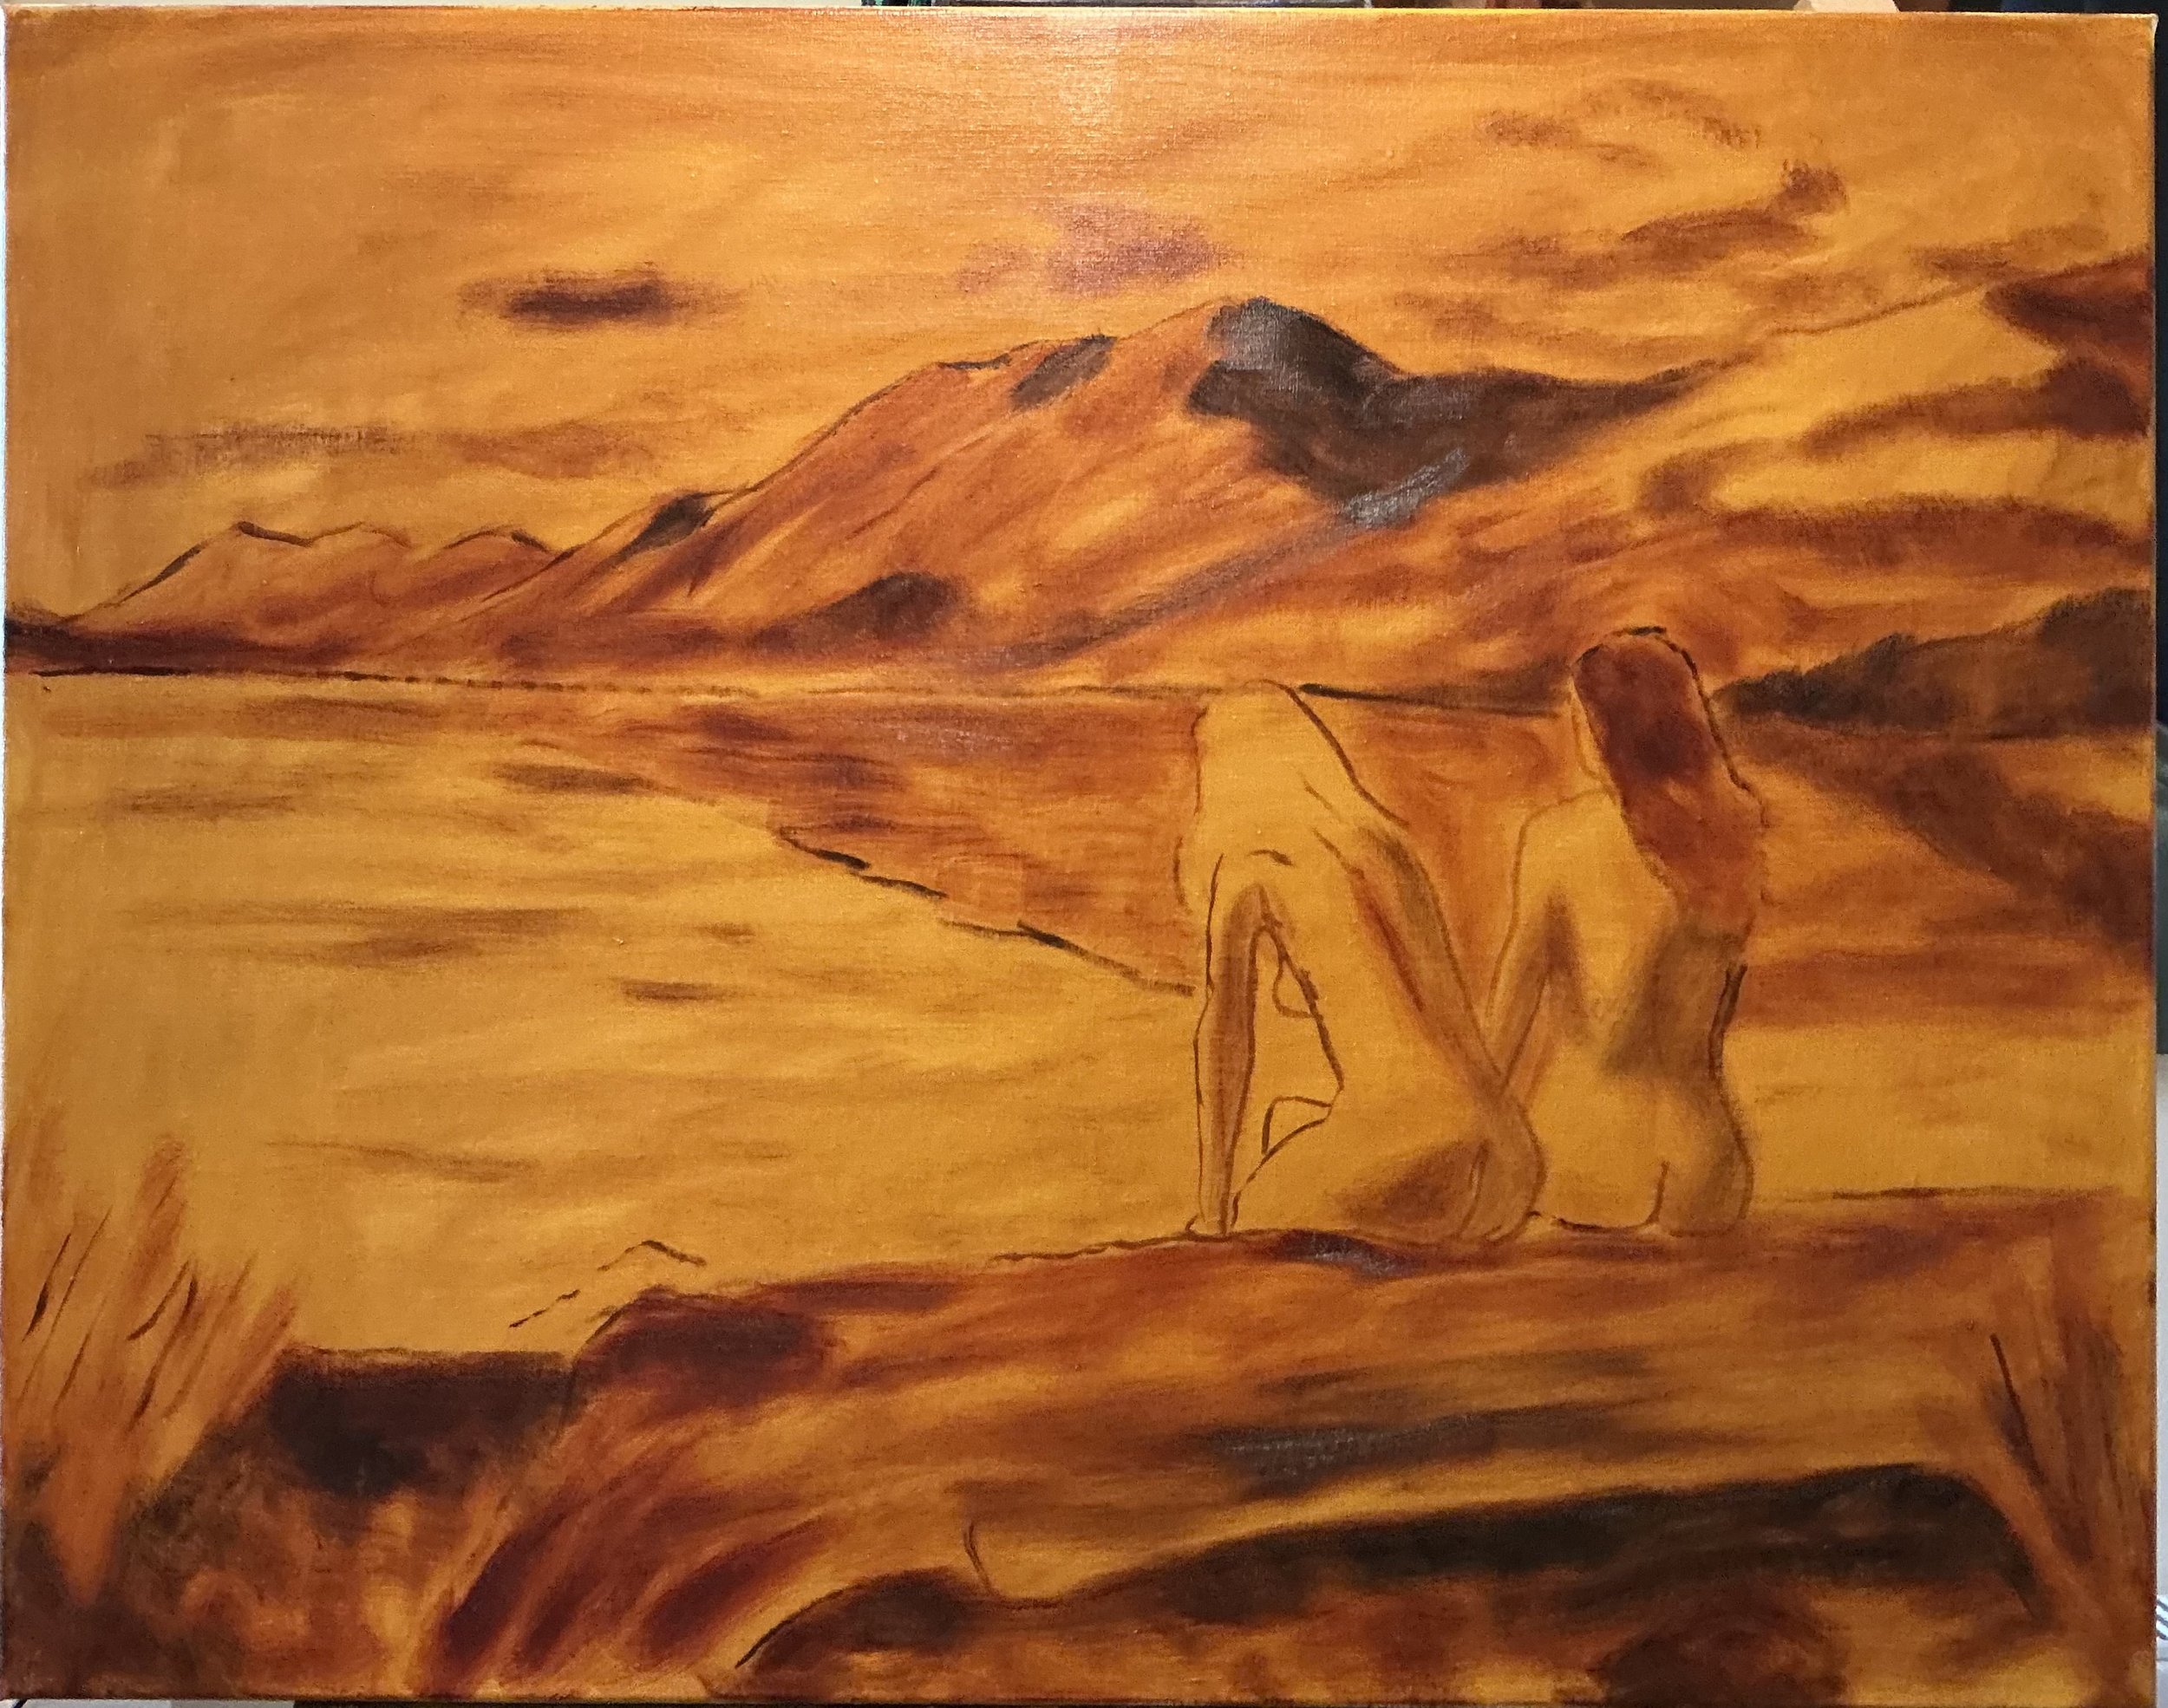
Tonal underpainting / sketch
Moving on to the first pass of colour, I keep the paint quite thin and start to think about the major colours and their values and their placement. The difficulty at this stage is to avoid getting into detail. This is a tendency I used to have too early in the development of the artwork. As you can see from the picture attached, I’m also at this stage trying to add some depth to the painting and getting a feeling for the cloud placement, which was not added during the initial drawing stages.
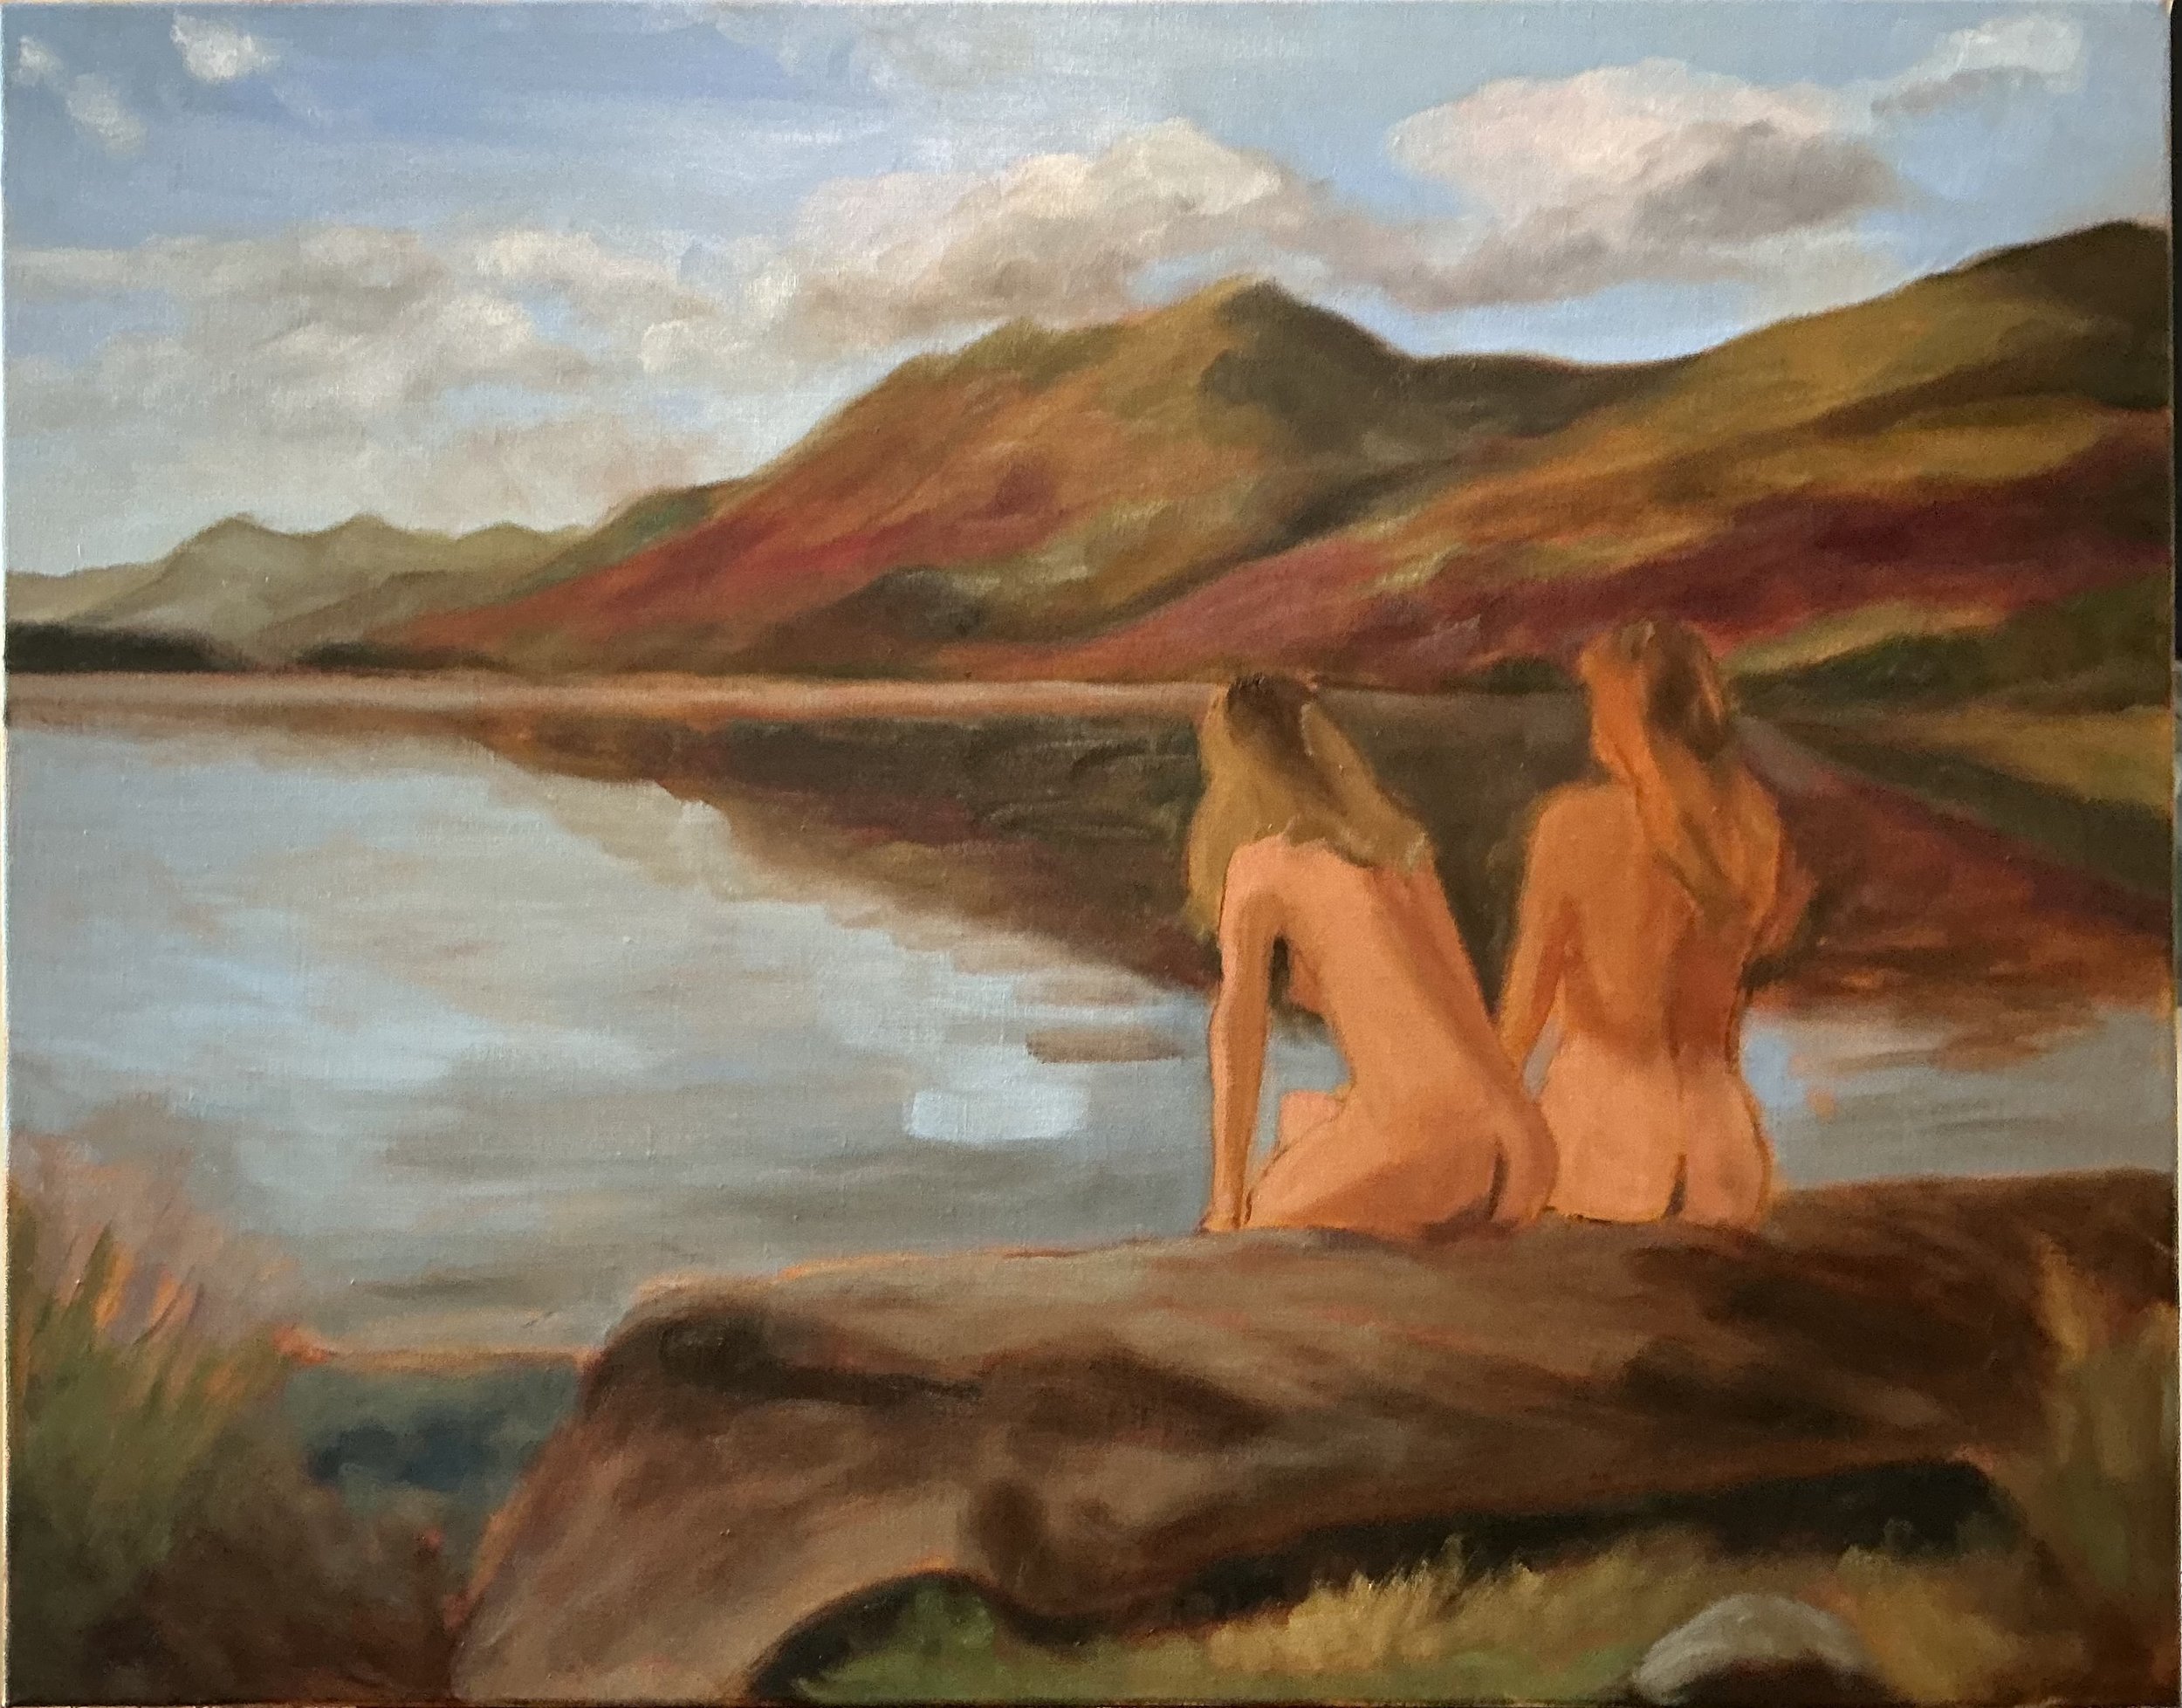
First colour layer
After that first layer of coloured paint, I let the paint sit for a few days. I do this for a few reasons: the first is to allow the paint to adequately dry, but the second is to give me time to live with it and have a look at how it’s progressing. This is the stage of the painting process where, if any major changes are needed, this is where I would do it. In this case, that was not necessary. As I moved back to the third layer of painting proper, I started furthest away with the sky and the clouds. This is quite common for me, where the landscape is a major part of the painting. I like to get the sky in colour and value, and the direction of the light, which helps me with the later stages of painting as I move down towards the hills and the loch. As I moved to do the hills in the background, the difficulty here was to ensure the shadows and the dark values still stayed relatively light. The important composition rule to understand is that your darkest darks are generally in the foreground when dealing with landscapes. This helps the hills recede. I was also conscious to make the hills on the left-hand side recede further by neutralising the colour: the farther back the hills are, the more blue tones and fewer yellows and greens.
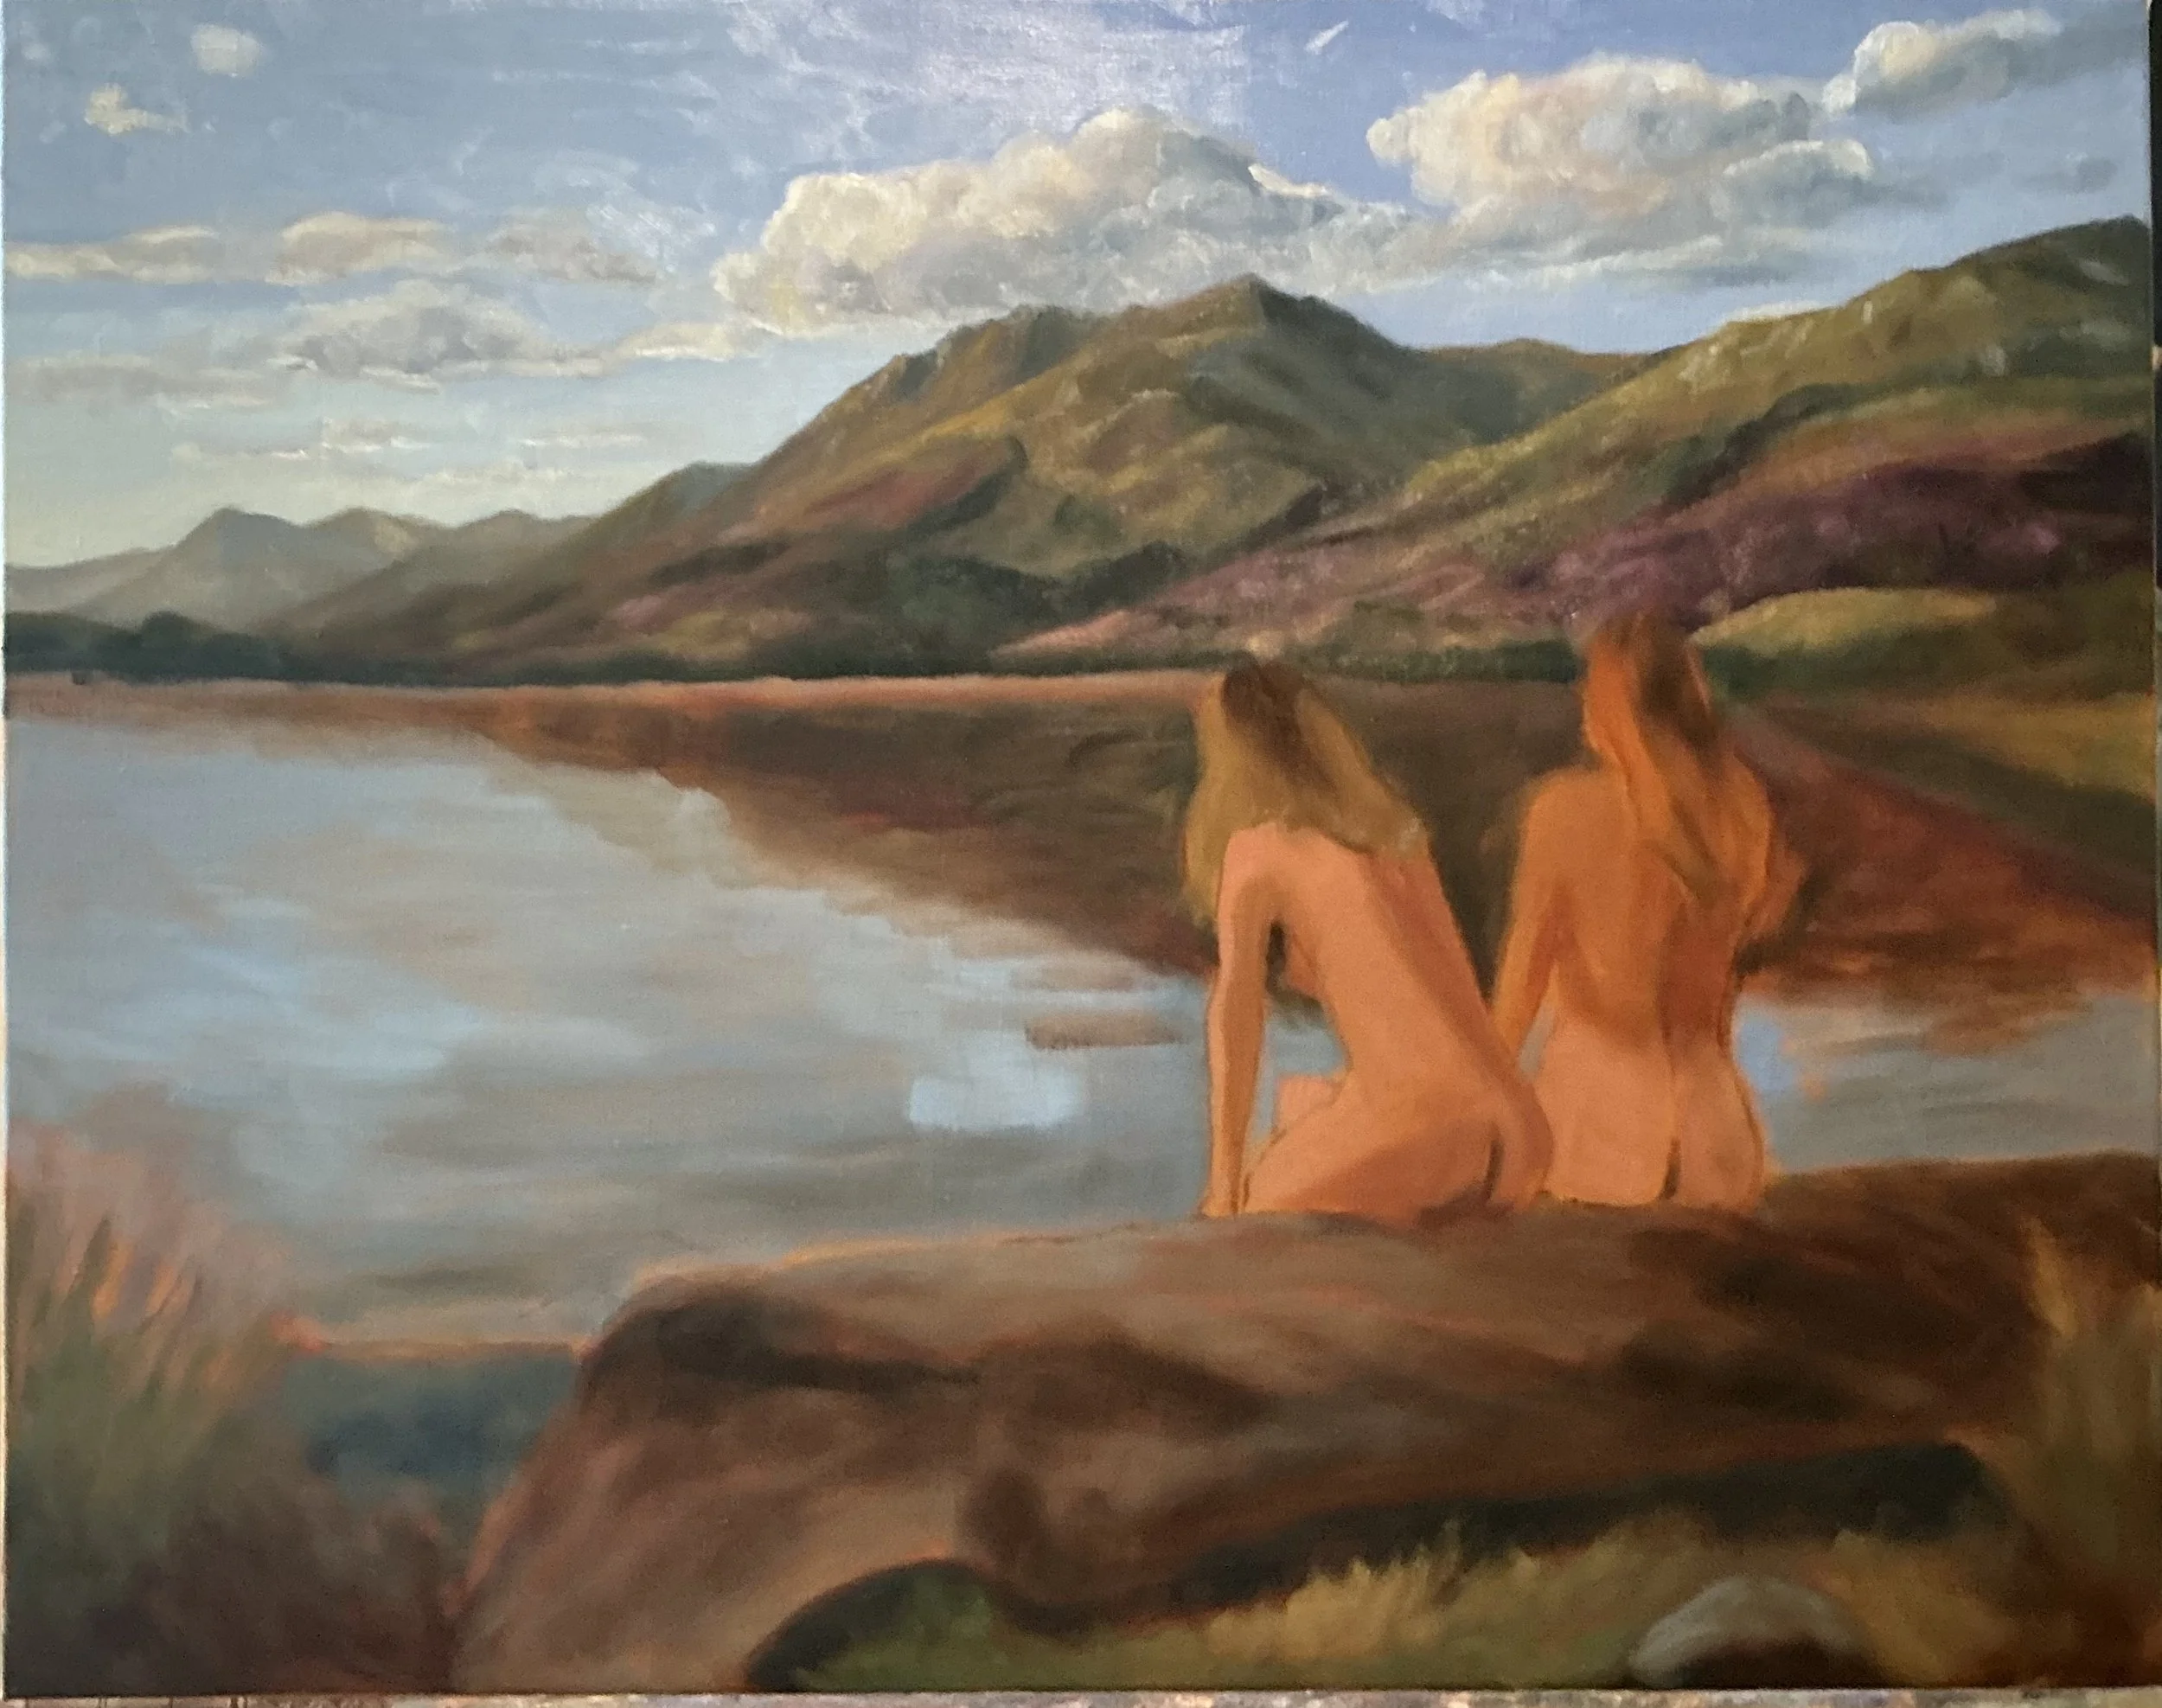
Moving through the third layer into the water, I aimed for natural reflections. The key is to keep lights slightly darker and the darks lighter; while this is a useful rule, the ripples can create strong highlights. At the foreground, I focused on showing how the water reflects the darker blue sky above the figures. Generally, the sky shifts from a lighter green turquoise to a darker blue-purple as it rises. This remains a broad concept. While working through the water, I deliberately increased paint thickness, particularly in the highlights, so they advance and stand out.
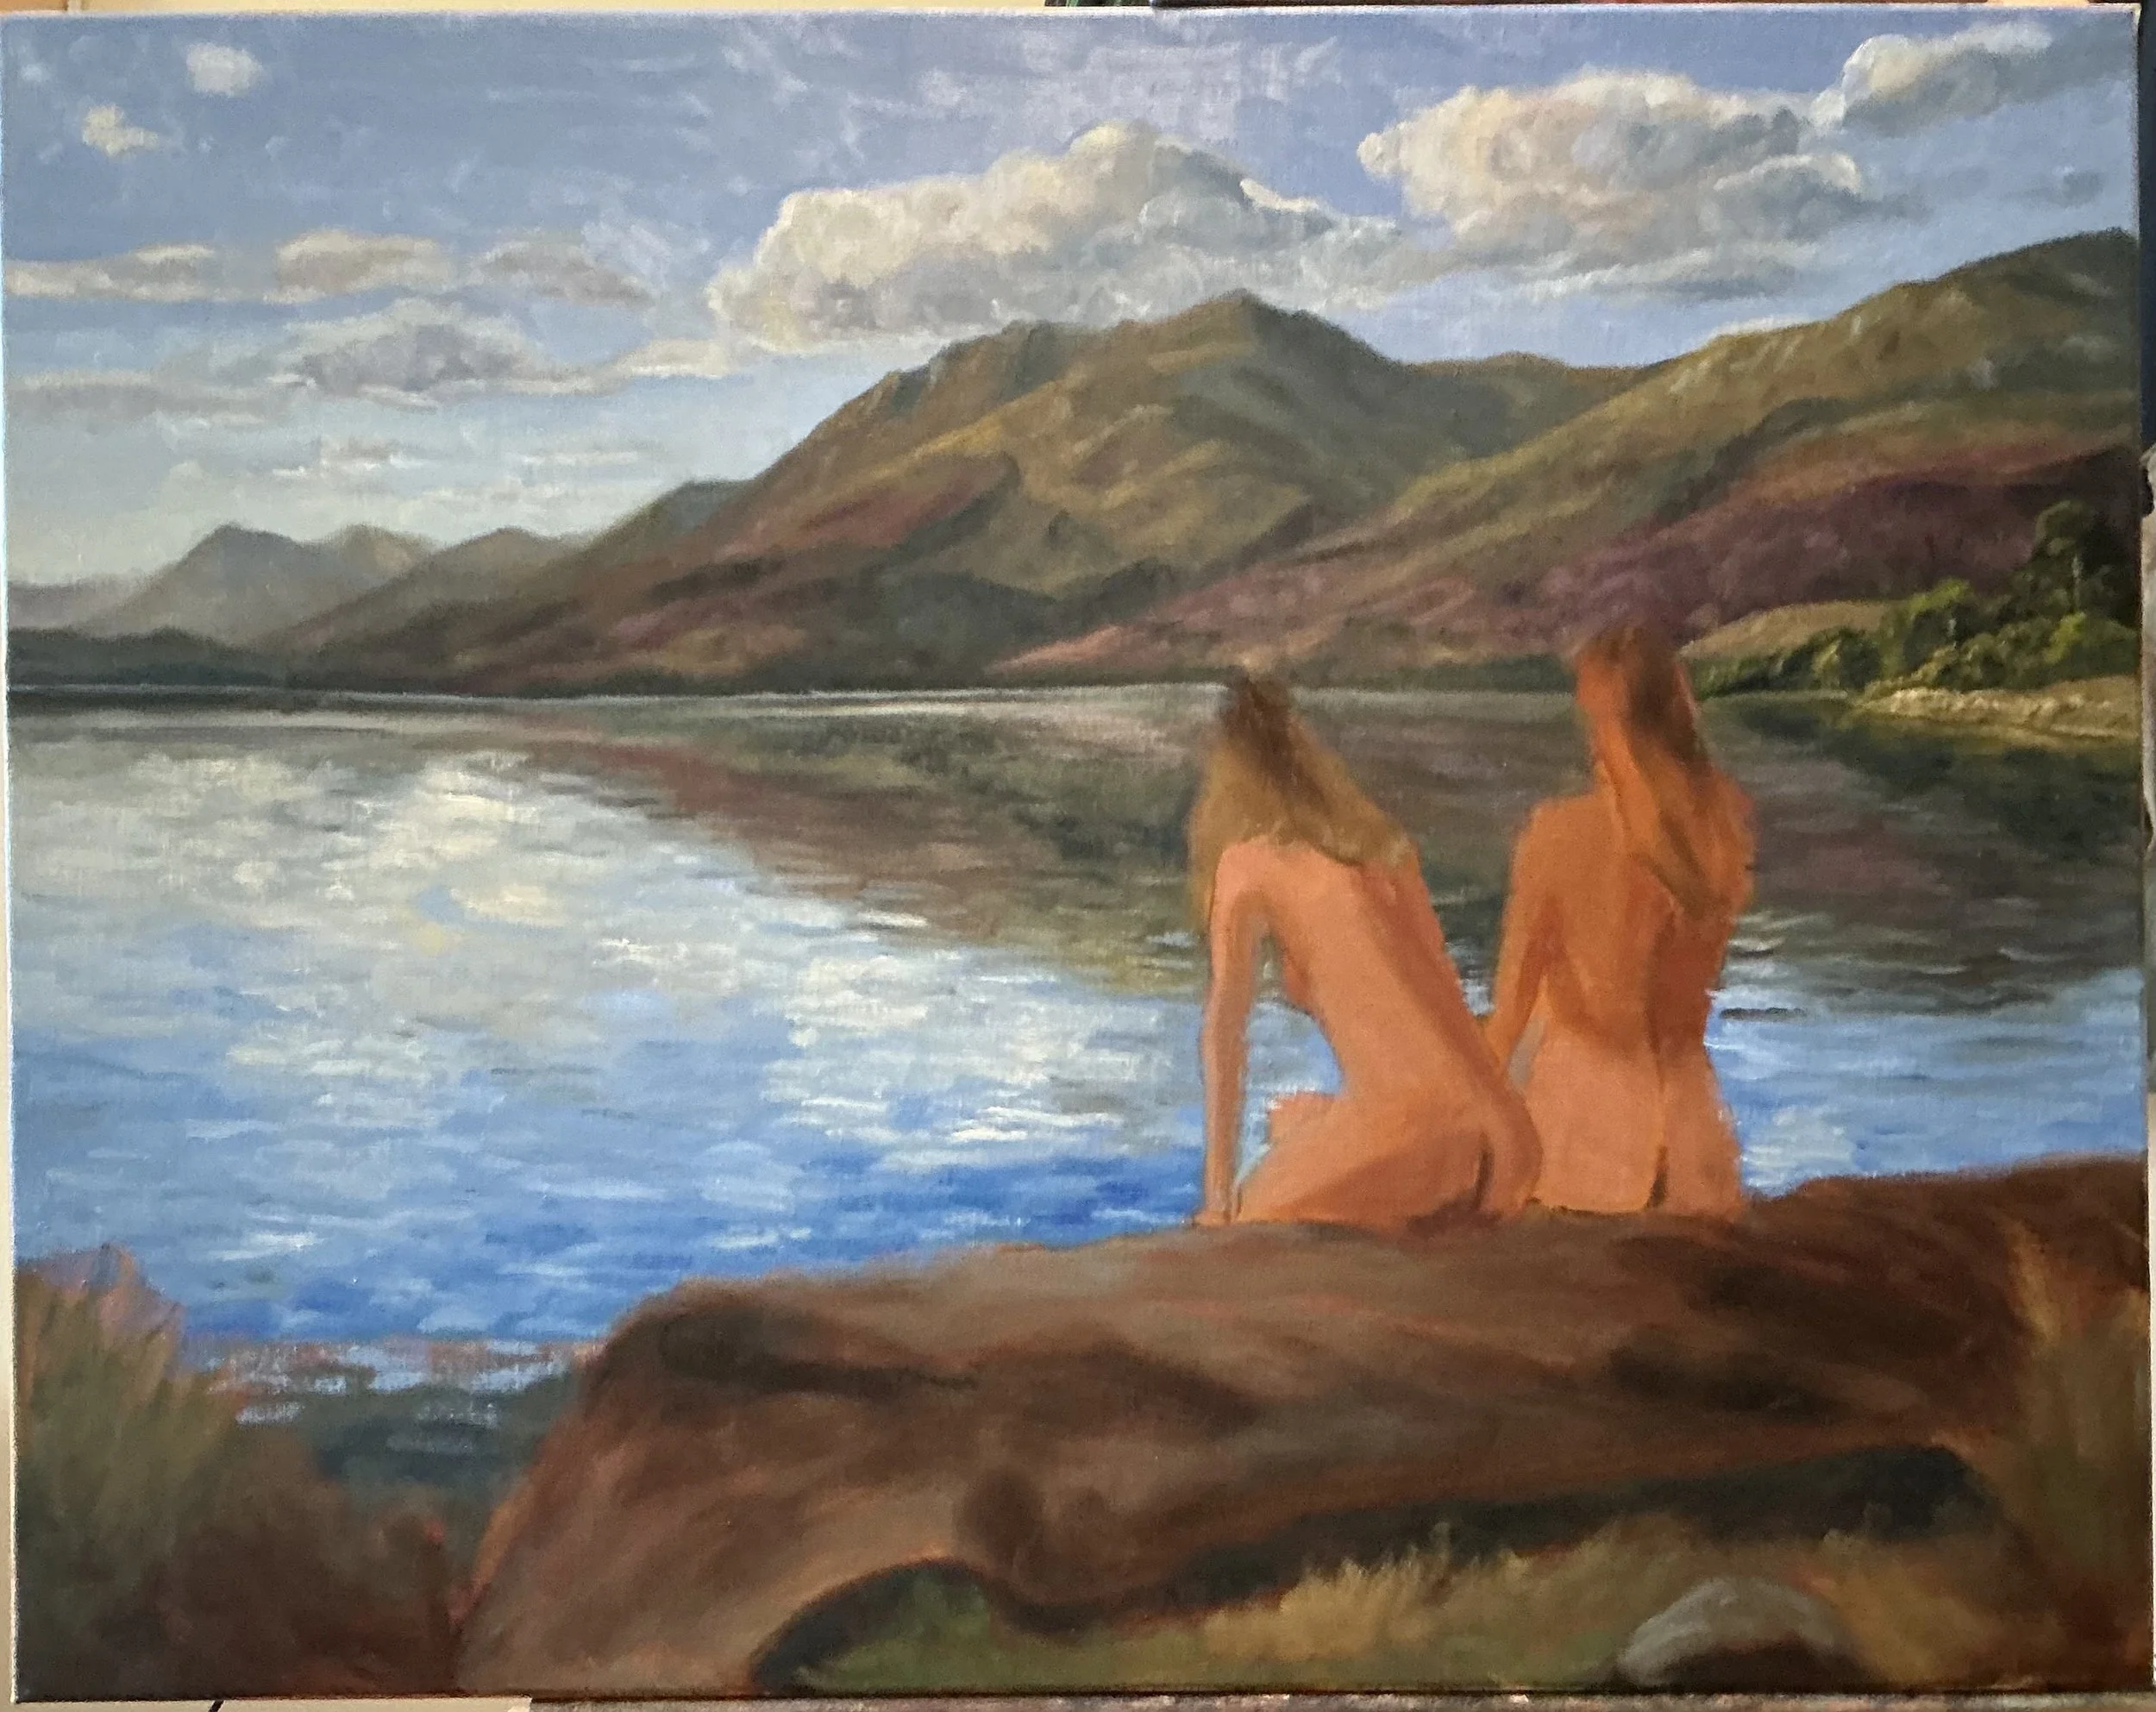
On the third day of layer 3, I have shifted to the foreground. The task is to confirm my values are accurate, placing the darkest tones here. Saturation has also risen on the plants and heather. I am now weighing detail and aiming to bring the foreground forward through paint thickness. I devoted considerable time to the log because my first attempt felt inadequate; I believe I painted it three times before I was satisfied.
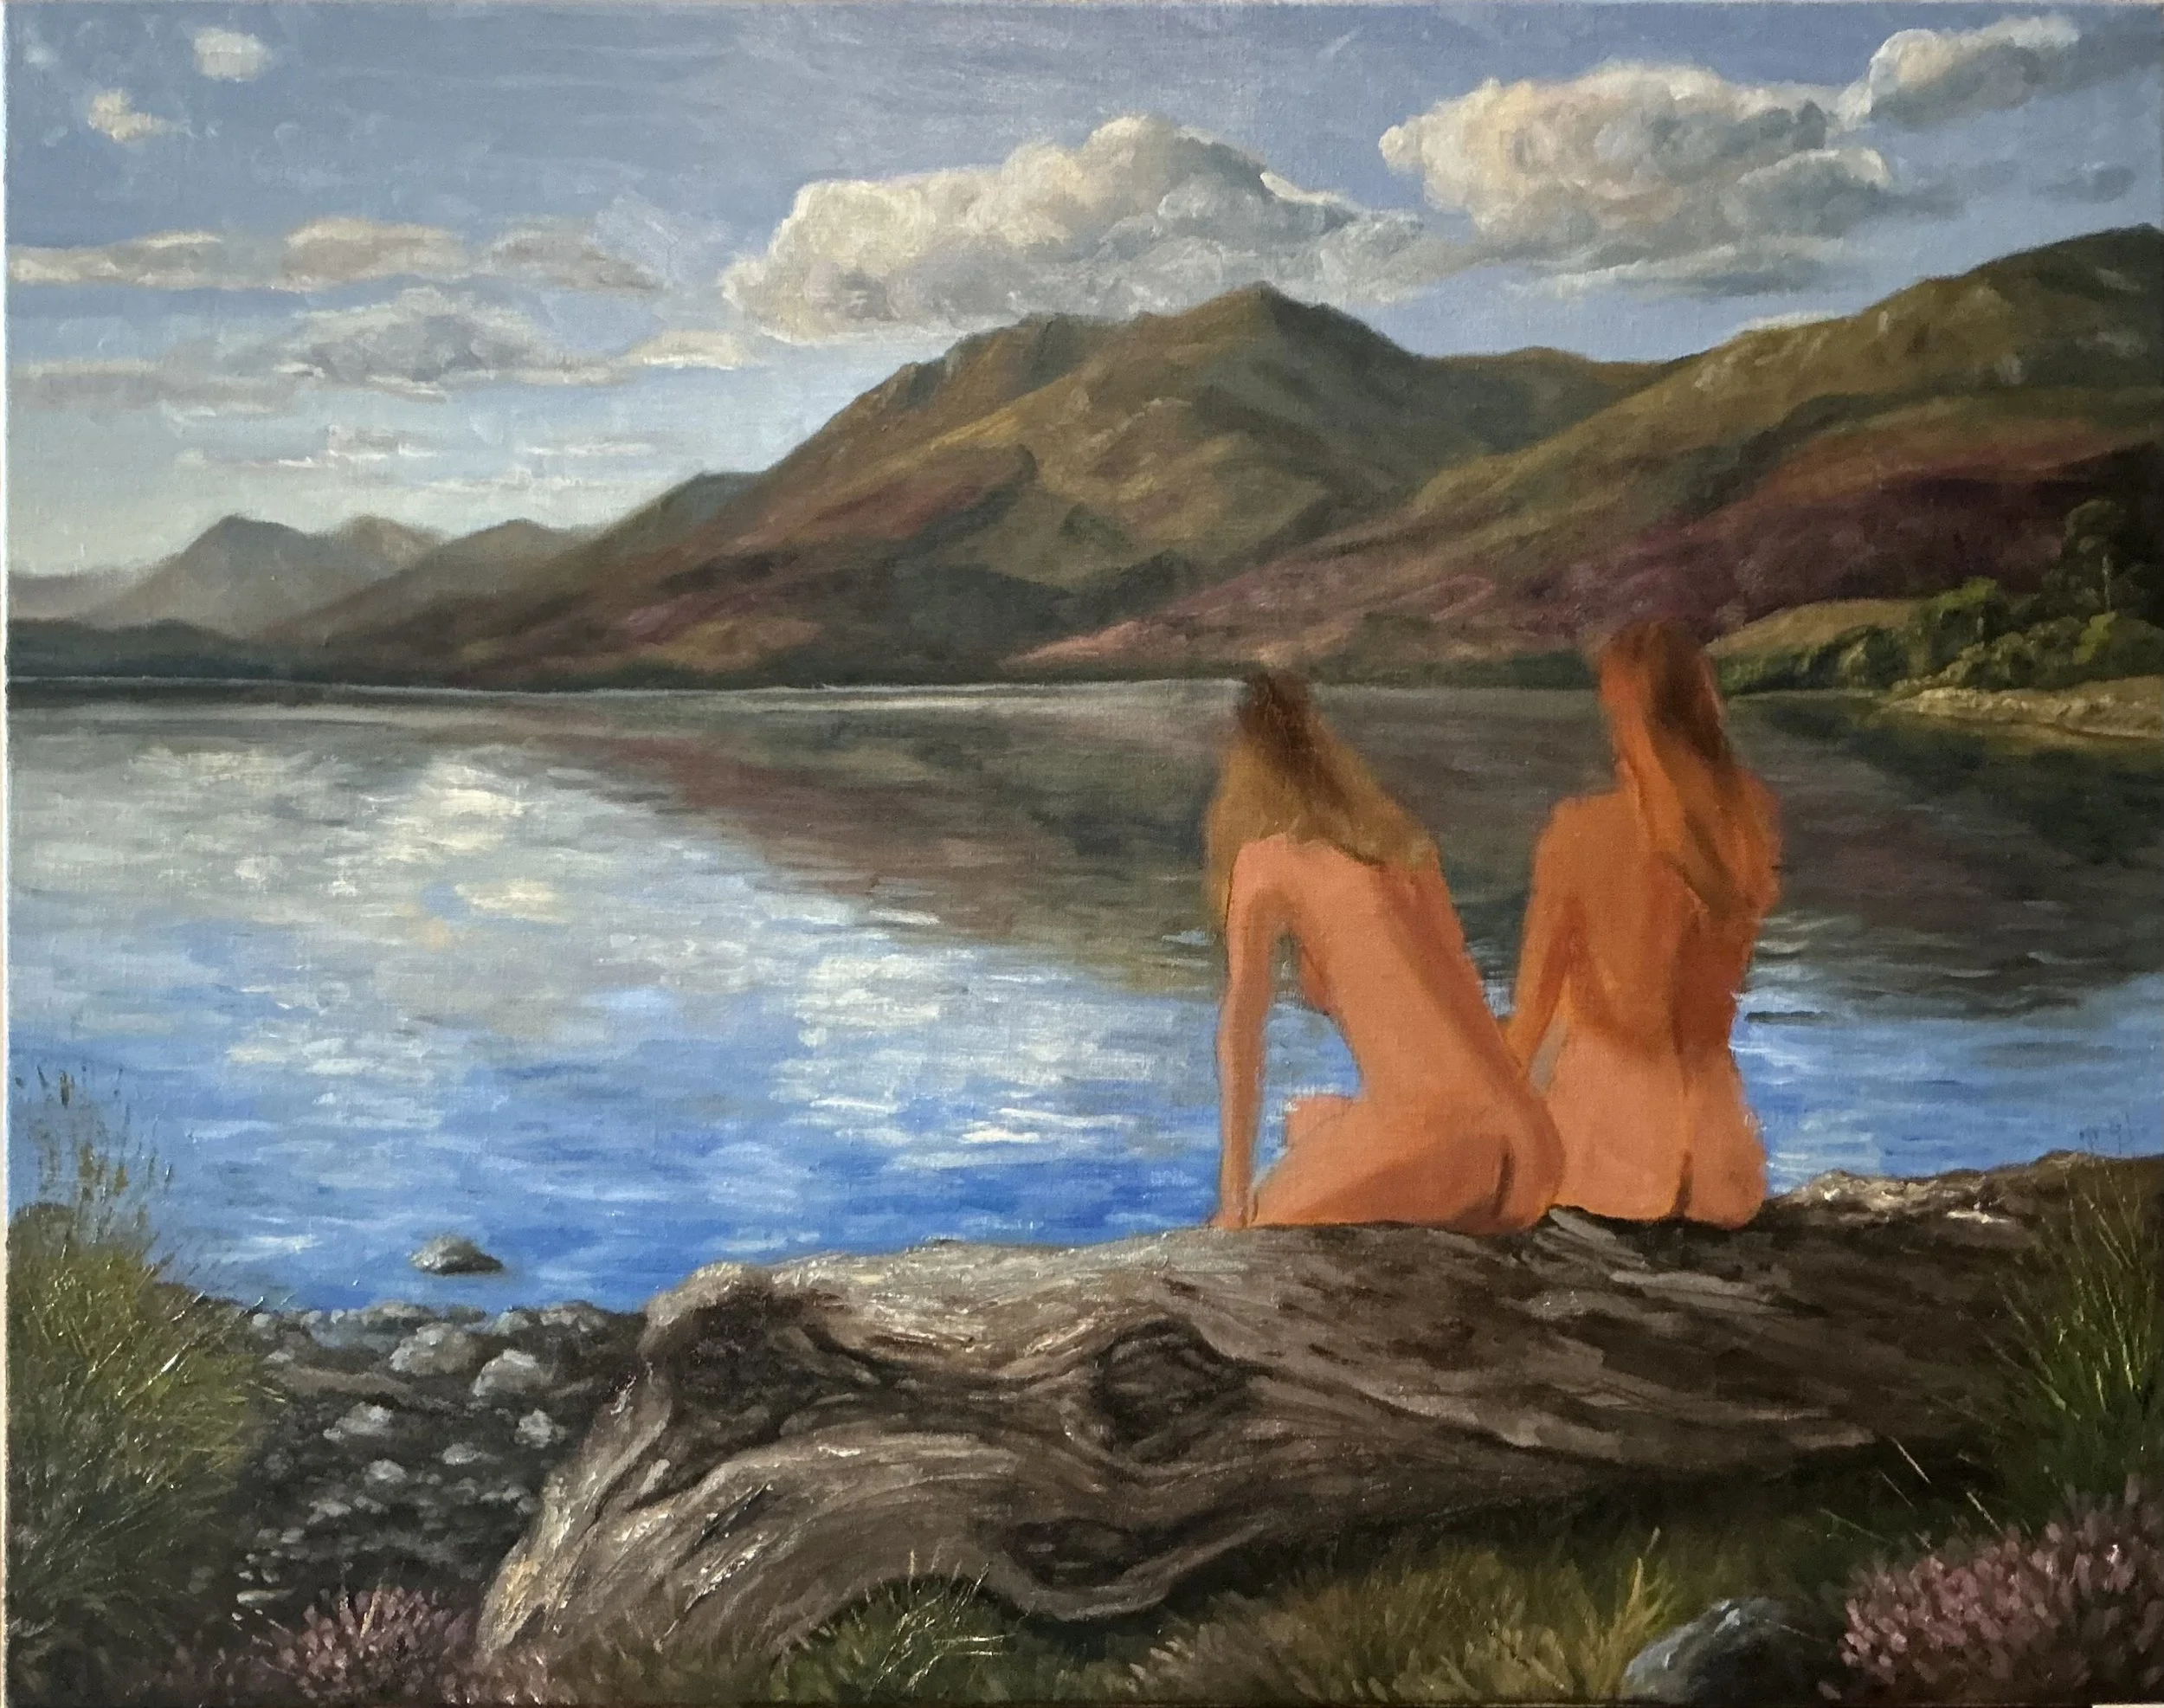
As I progressed to painting the figures, I aimed for varied complexions. I wanted the blonde girl to show a lighter pinkish tone, contrasting with the other woman’s tan skin and auburn hair. At this stage, the challenge is making the figures appear integrated rather than resting on the surface. I therefore considered the light’s direction while placing them. Because these figures serve as focal points, I adjusted the contrast between their brightness and the slightly darker water shadows so the effect would stand out.
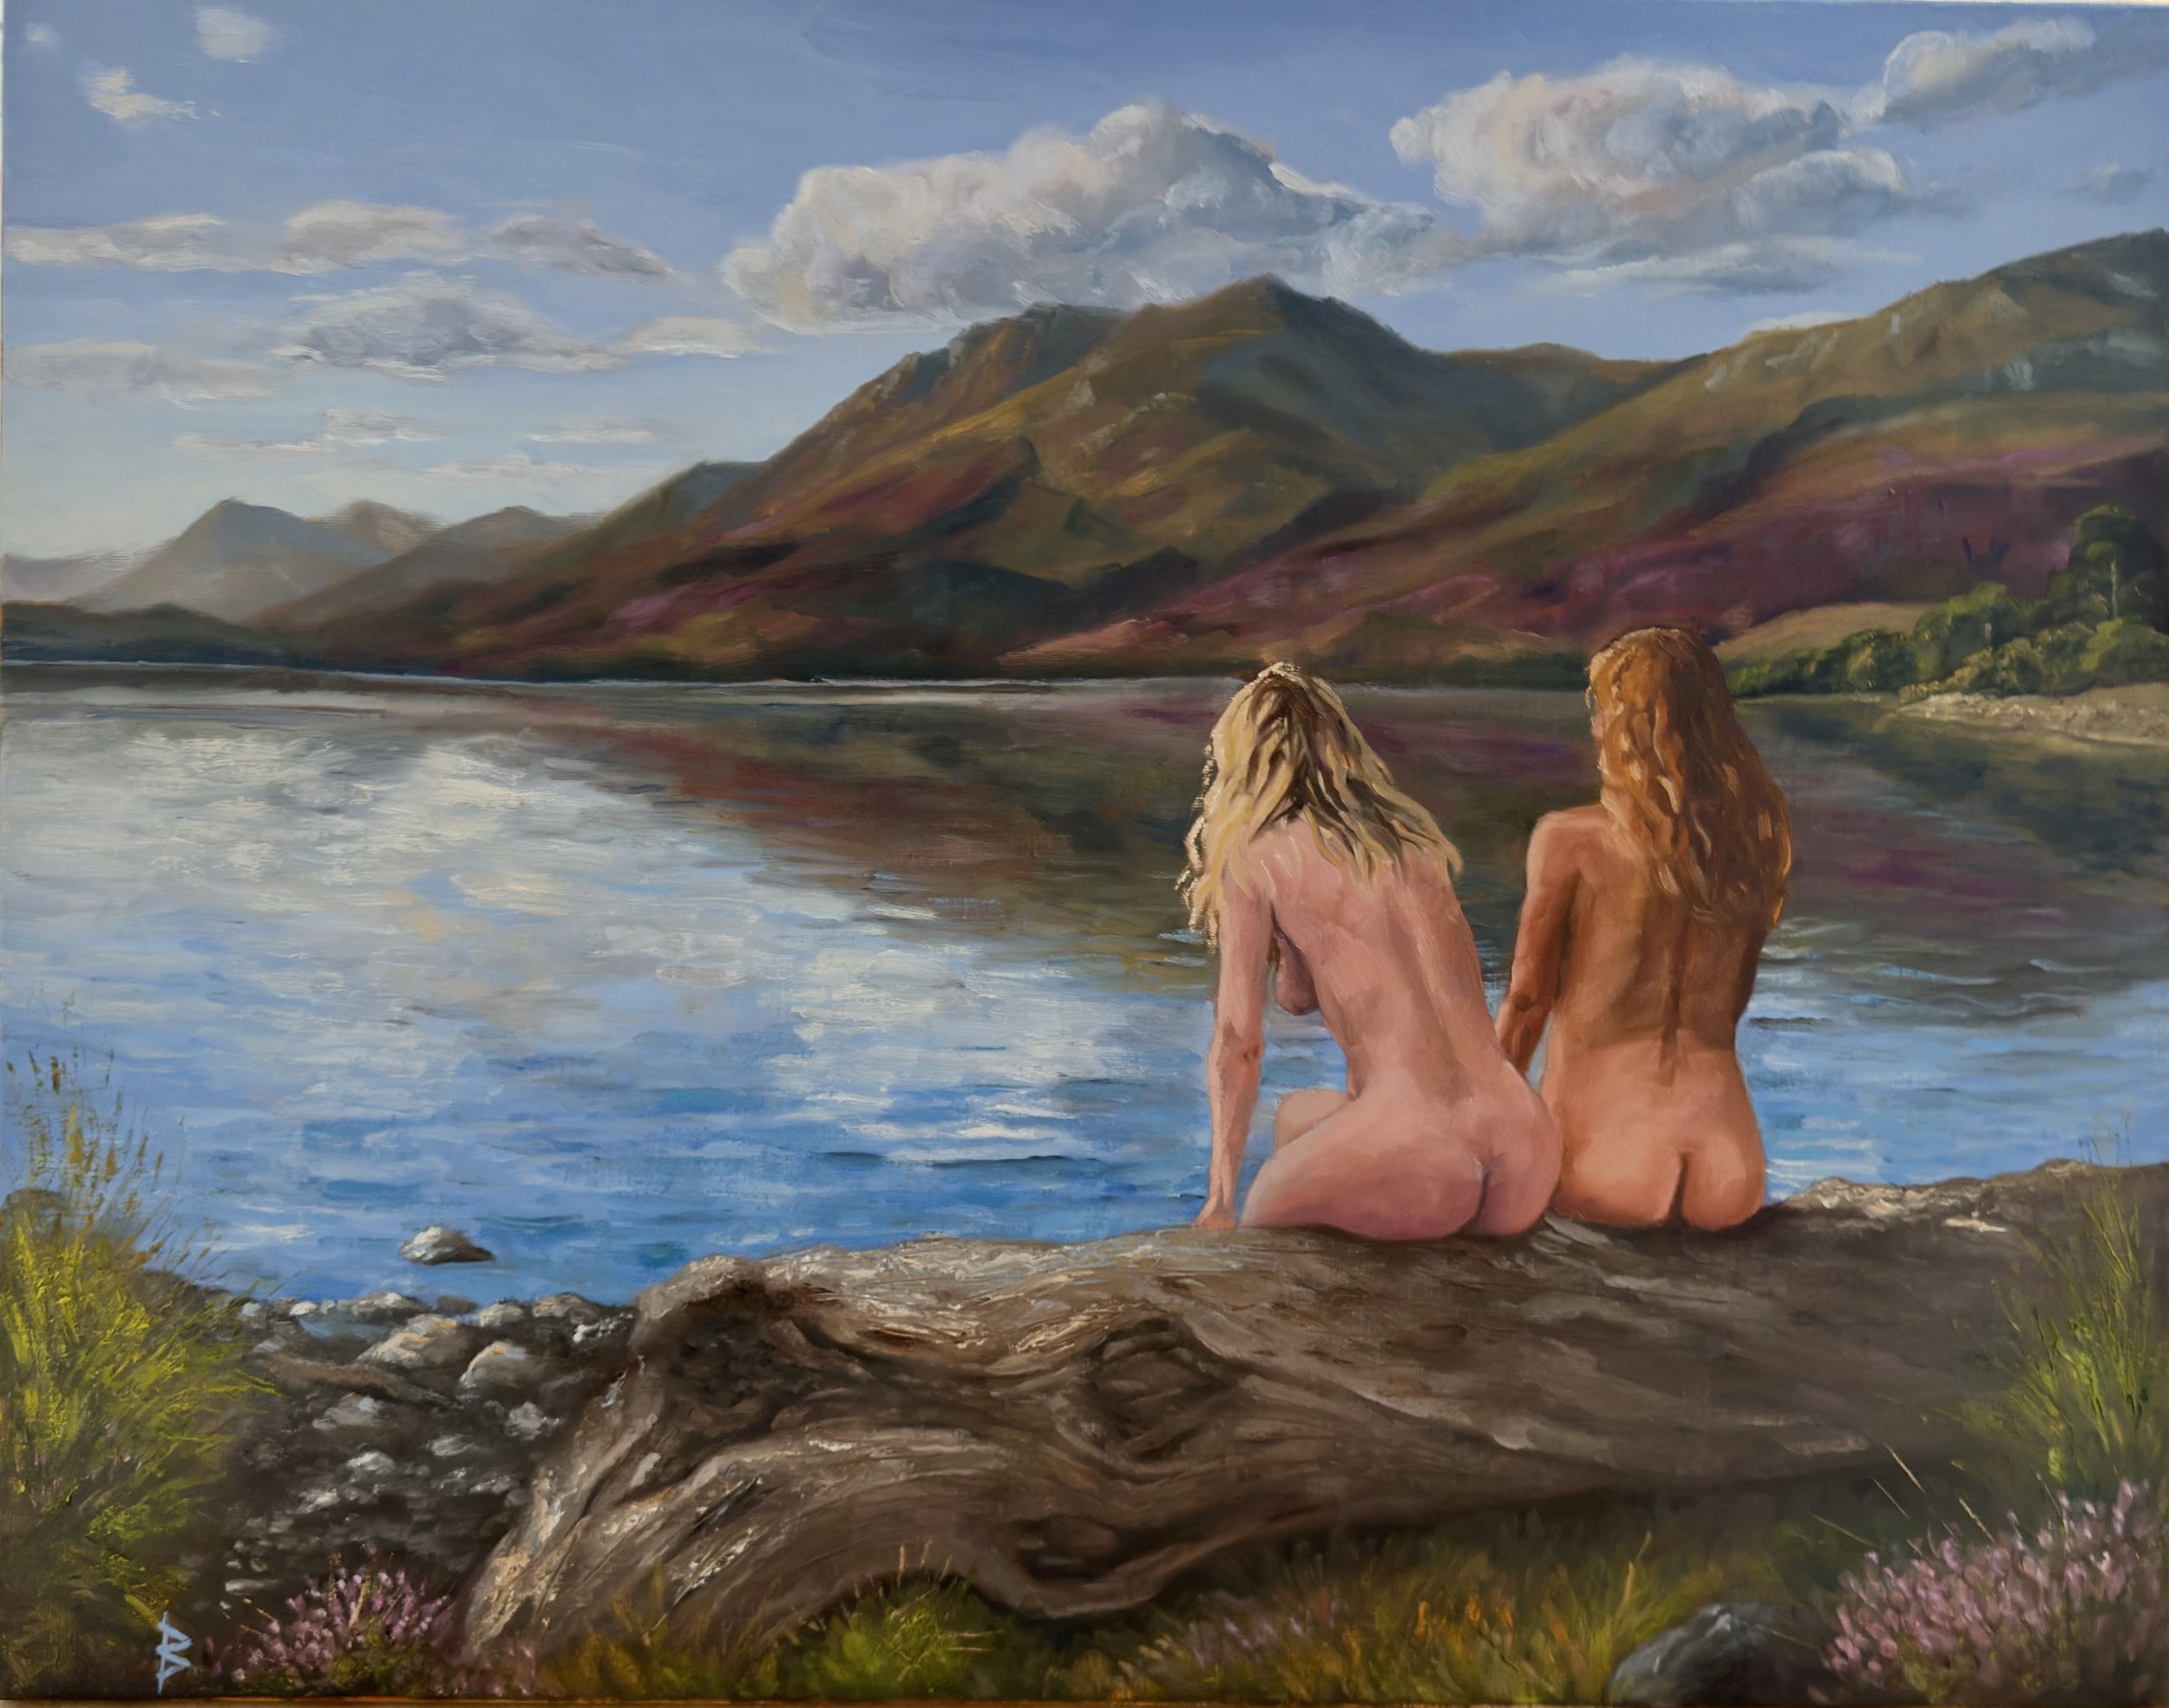
At this stage, I placed the paint to one side in my living room and took some photographs. I sometimes enjoy pausing to examine the painting and consider whether any final adjustments are required. After a few days, I noticed I was not entirely satisfied with the background. I felt certain dark tones were excessive, so I spent time lightening them with scumbled paint. I also realised some highlights in the water were too bright and softened them. The final step involved adding a few small details, such as a shadow beneath the rock in the water and darkening the shadow under the log.
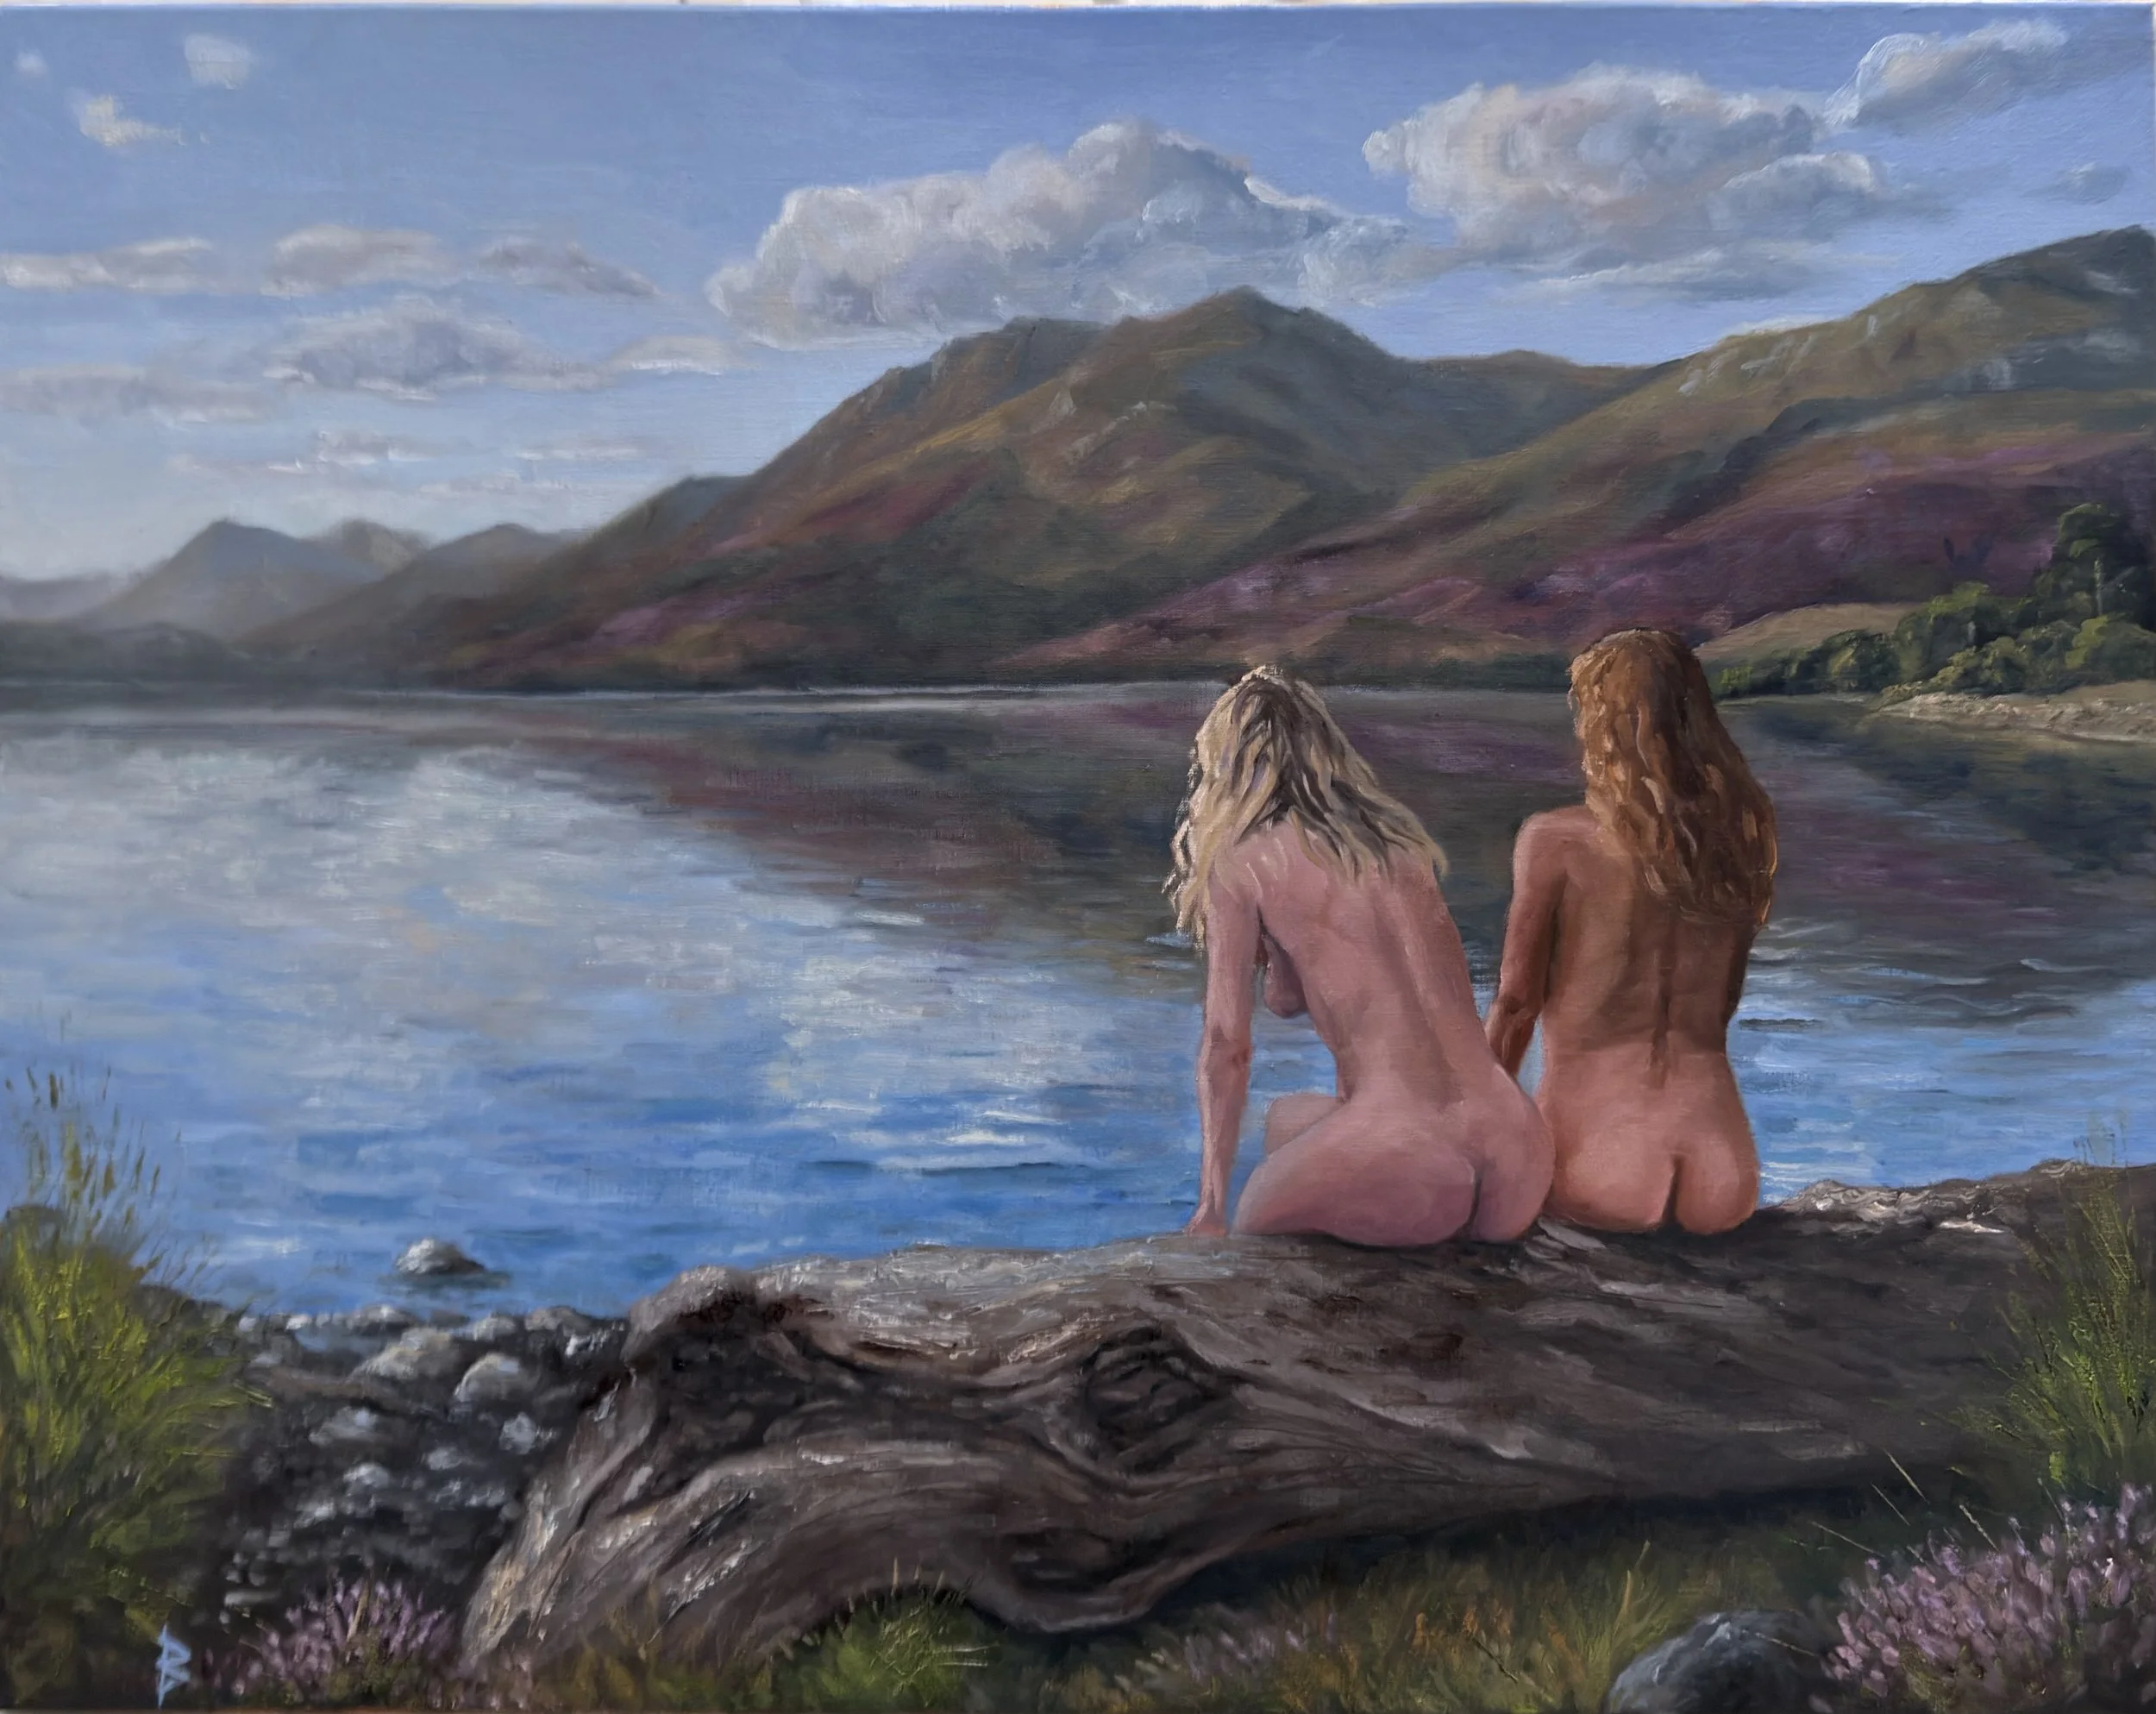
Final painting.
I now consider this painting complete. I think the biggest challenge for most art is coming to the point where they think they should put the paint in the side finally. We can be prone to changing and tweaking too much, which in most cases ends up ruining the paint and rather than improving it and final summary, I think I achieved what I intended when I planned this painting originally.
