
Inside the Artist's Studio: My Traditional Oil Painting Space and Process
It is difficult to know where to start when discussing my studio space. It is incredibly common for artists to state that their studio is a haven where they can think, be creative, and relax—and that is profoundly true for me. When I am at the easel, I experience a form of active meditation; the focus required has a way of washing away life's daily worries and stresses.
I recently found a wonderful quote from Joan Miró that perfectly captures this feeling:
““I think of my studio as a vegetable garden, where things follow their natural course. They grow, they ripen. You have to graft. You have to water.””
My current studio was formerly my home office back when I worked in IT project delivery for an energy company. Upon retiring from my full-time corporate job, I decided to expand my creative workspace by combining this office with my outdoor building. This setup gives me the luxury of ample space to dedicate to different aspects of my creative process.
Separating the Spaces: The Studio Layout
My oil painting studio space is made up of two distinct areas—three if you include the garden during the drier and warmer summer months.
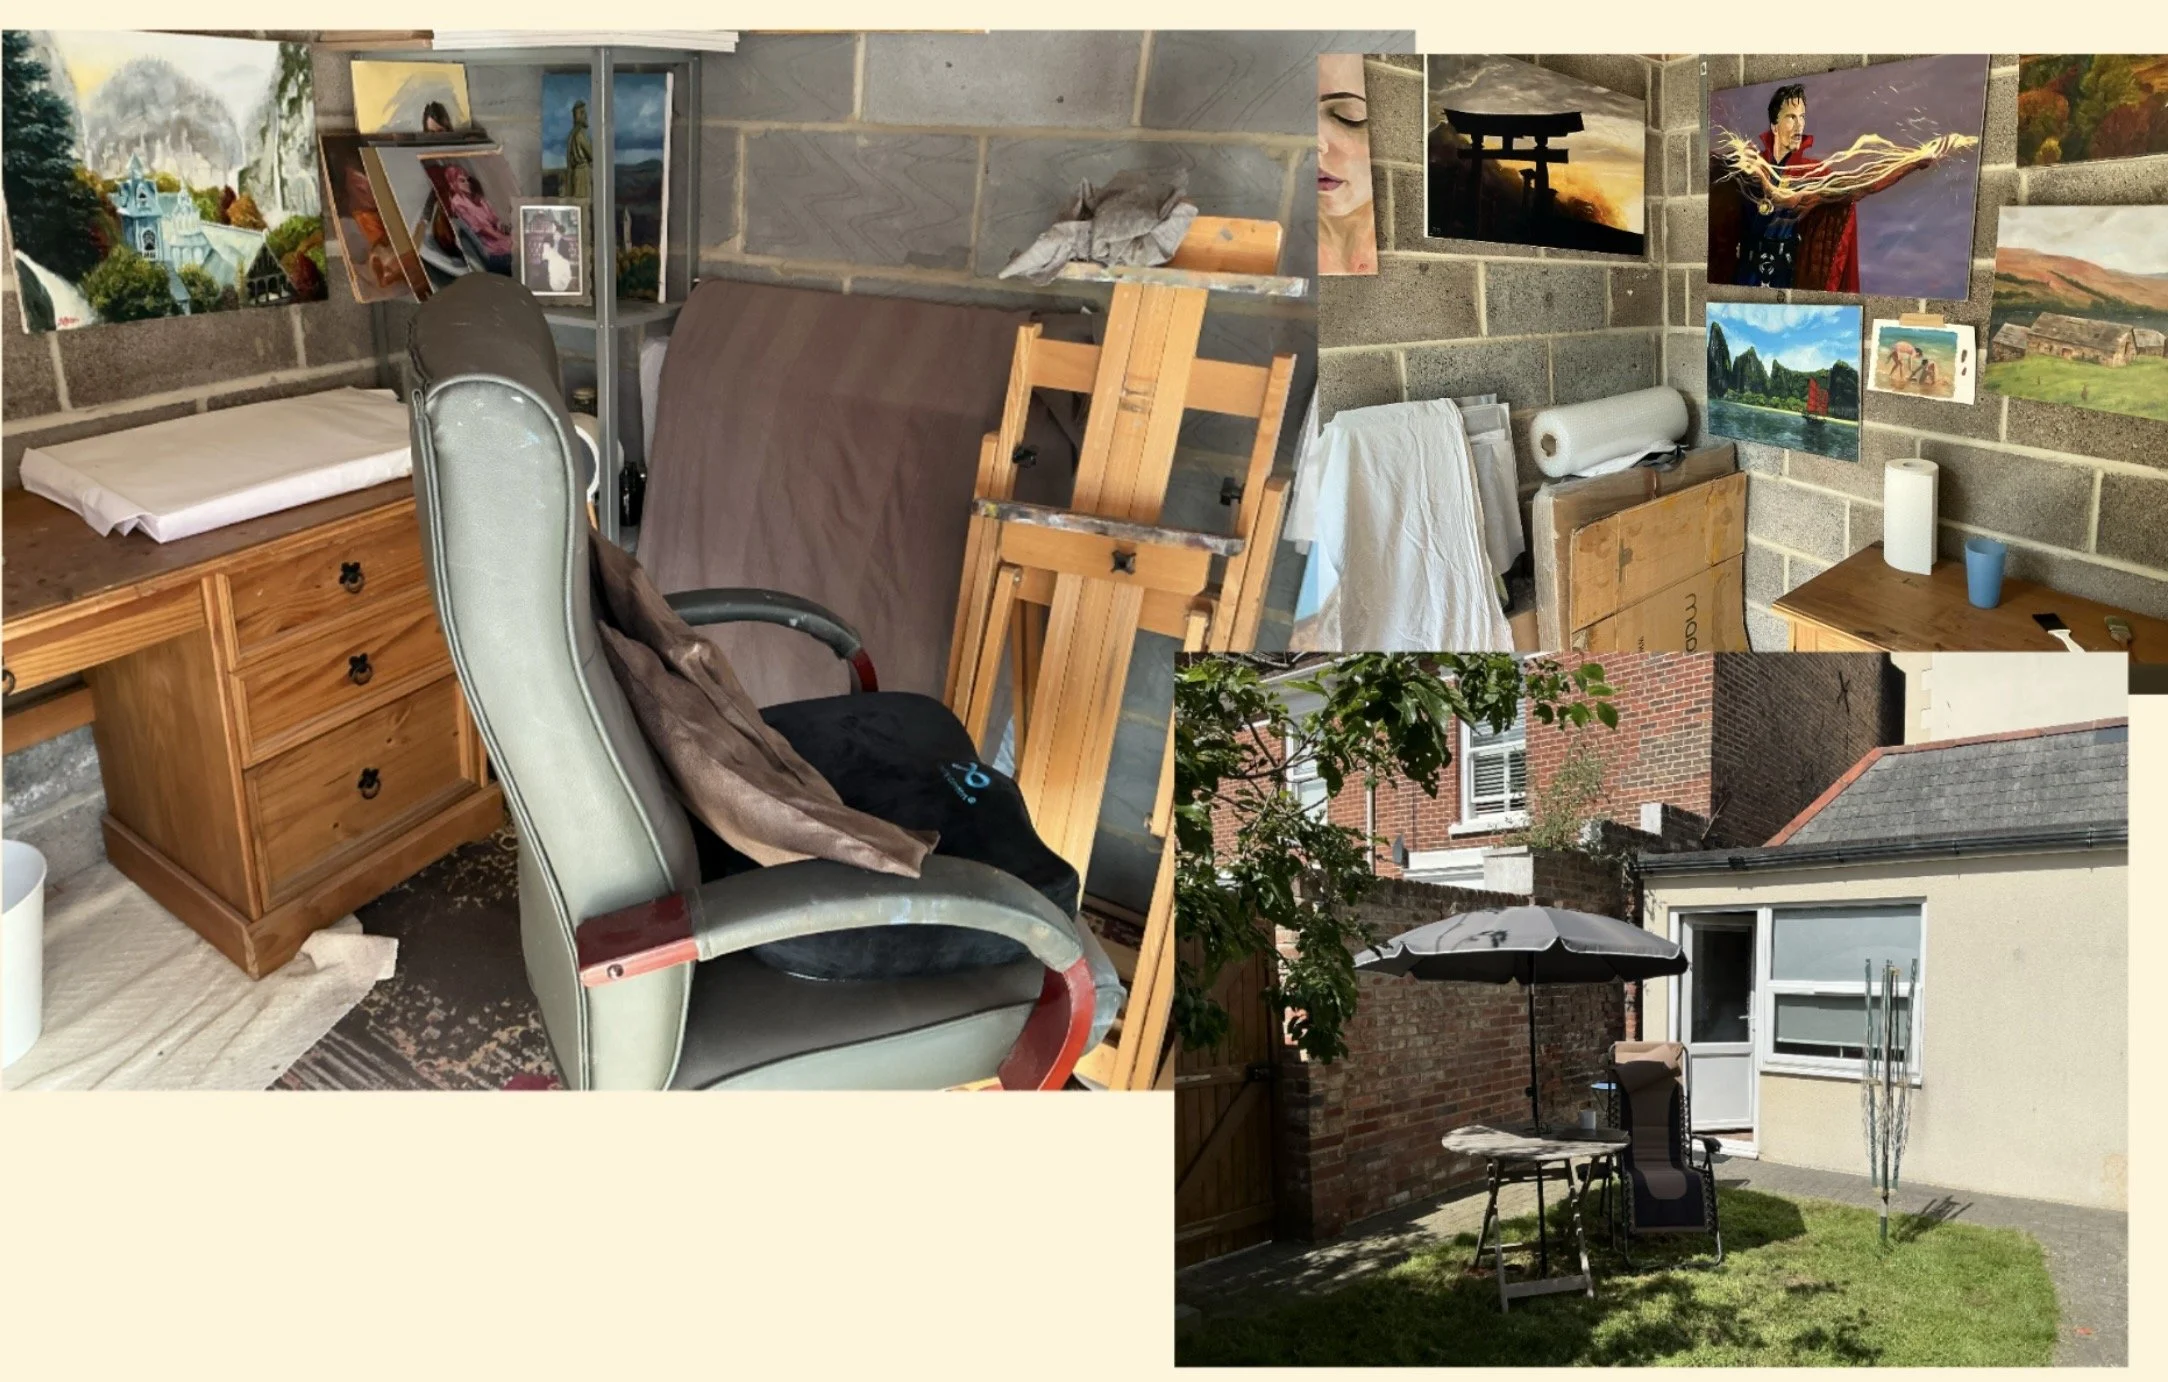
Outdoor art studio outbuilding and garden workspace for Brian Millar Fine Art
I am fortunate to have a solid outbuilding on my property. For a long time, this was where I created all my work. However, I have now allocated the outbuilding strictly for the messier and more fragrant aspects of traditional oil painting: prepping canvases, stretching linen, and varnishing finished pieces. It also serves as a secure, climate-controlled storage space to keep completed paintings safe from dampness and direct sunlight.
For the actual painting, I primarily work indoors in my converted office space. This room gives me plenty of physical space to operate a large studio easel, alongside a dedicated desk area for managing reference materials, writing blogs, and updating my website.
My Oil Painting Setup and Equipment
The heart of the painting space revolves around my Mabef studio easel. To streamline my workflow, I have attached a flexible arm to the easel to hold my iPad for digital reference photos.
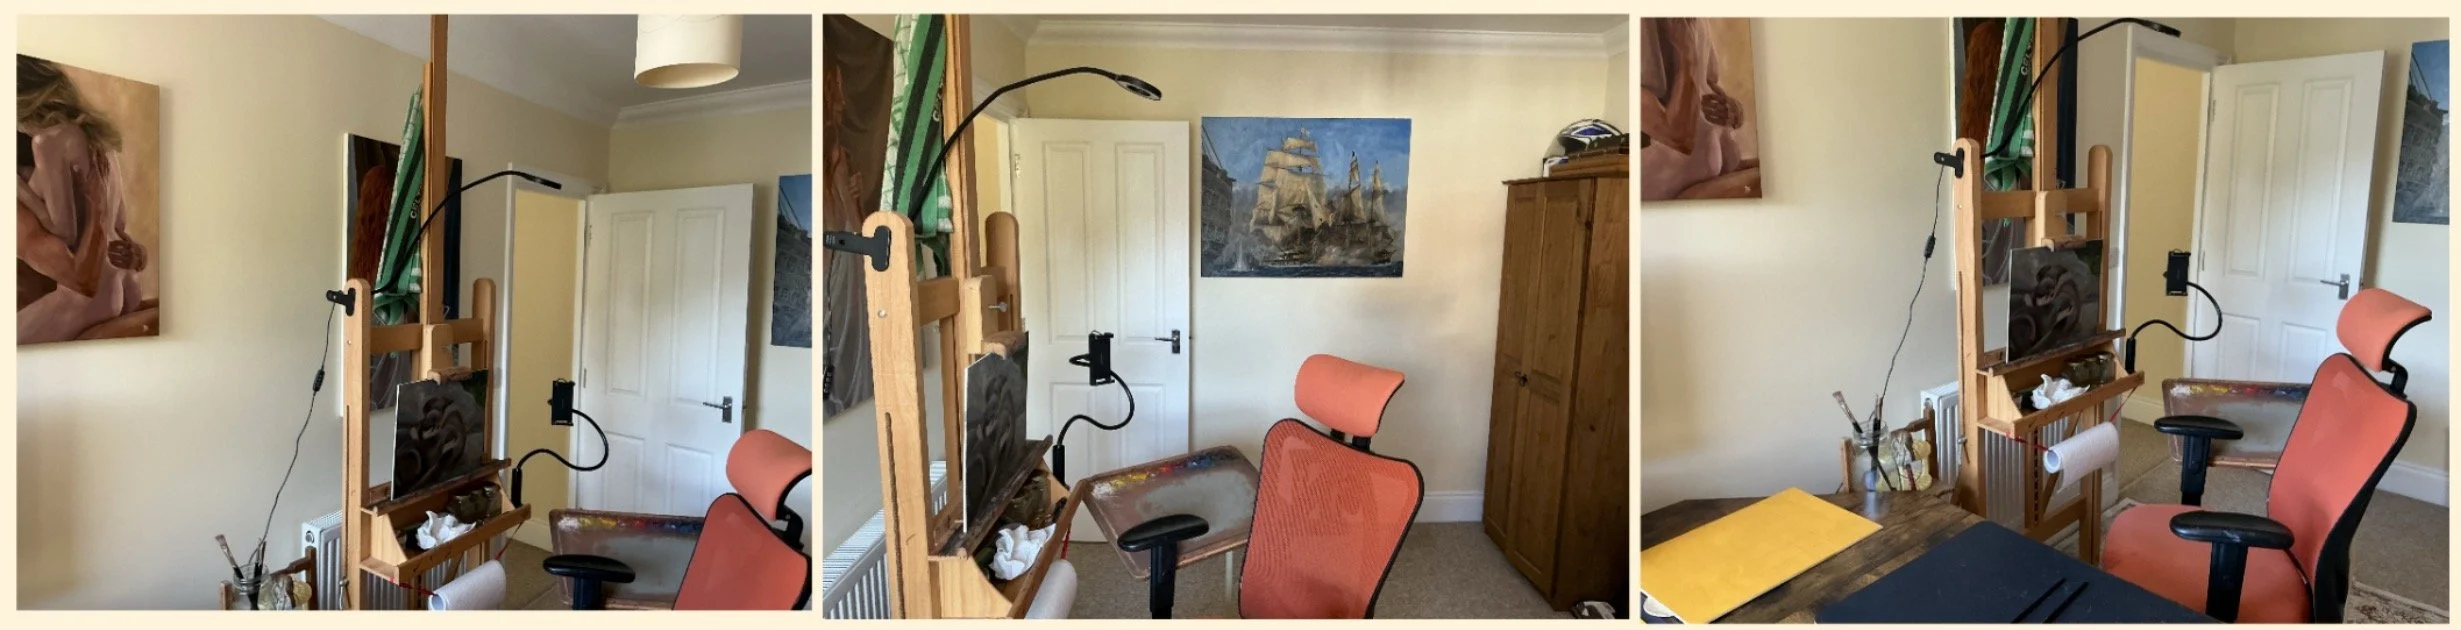
Traditional oil painting setup featuring a Mabef studio easel, grey glass palette, and reference screen holder.
Lighting is critical for an oil painter. I have clamped additional studio lighting above the easel to ensure I have a perfectly neutral light source that is neither too cold nor too warm. Combined with the natural window light, it creates an airy, bright environment that ensures my color accuracy remains consistent.
My palette setup is quite unique: it is repurposed from an adjustable hospital overbed table. I fitted it with a custom sheet of glass painted a neutral grey on the reverse side. This table allows me to seamlessly raise or lower my mixing surface depending on whether I want to stand or sit while painting. I can even angle the glass to get a perfectly glare-free view of my colour mixes.
Smart Art Storage and Creative Organization
For my desk, I utilise a corner configuration to naturally partition the room. One side holds my immediate painting essentials—a selection of oil paints, working brushes, and a vital cup of coffee. The main section of the desk houses my MacBook, which I use for research, editing reference images, and writing. As an Apple fan, I also keep a HomePod nearby for music and podcasts to keep me relax while painting.
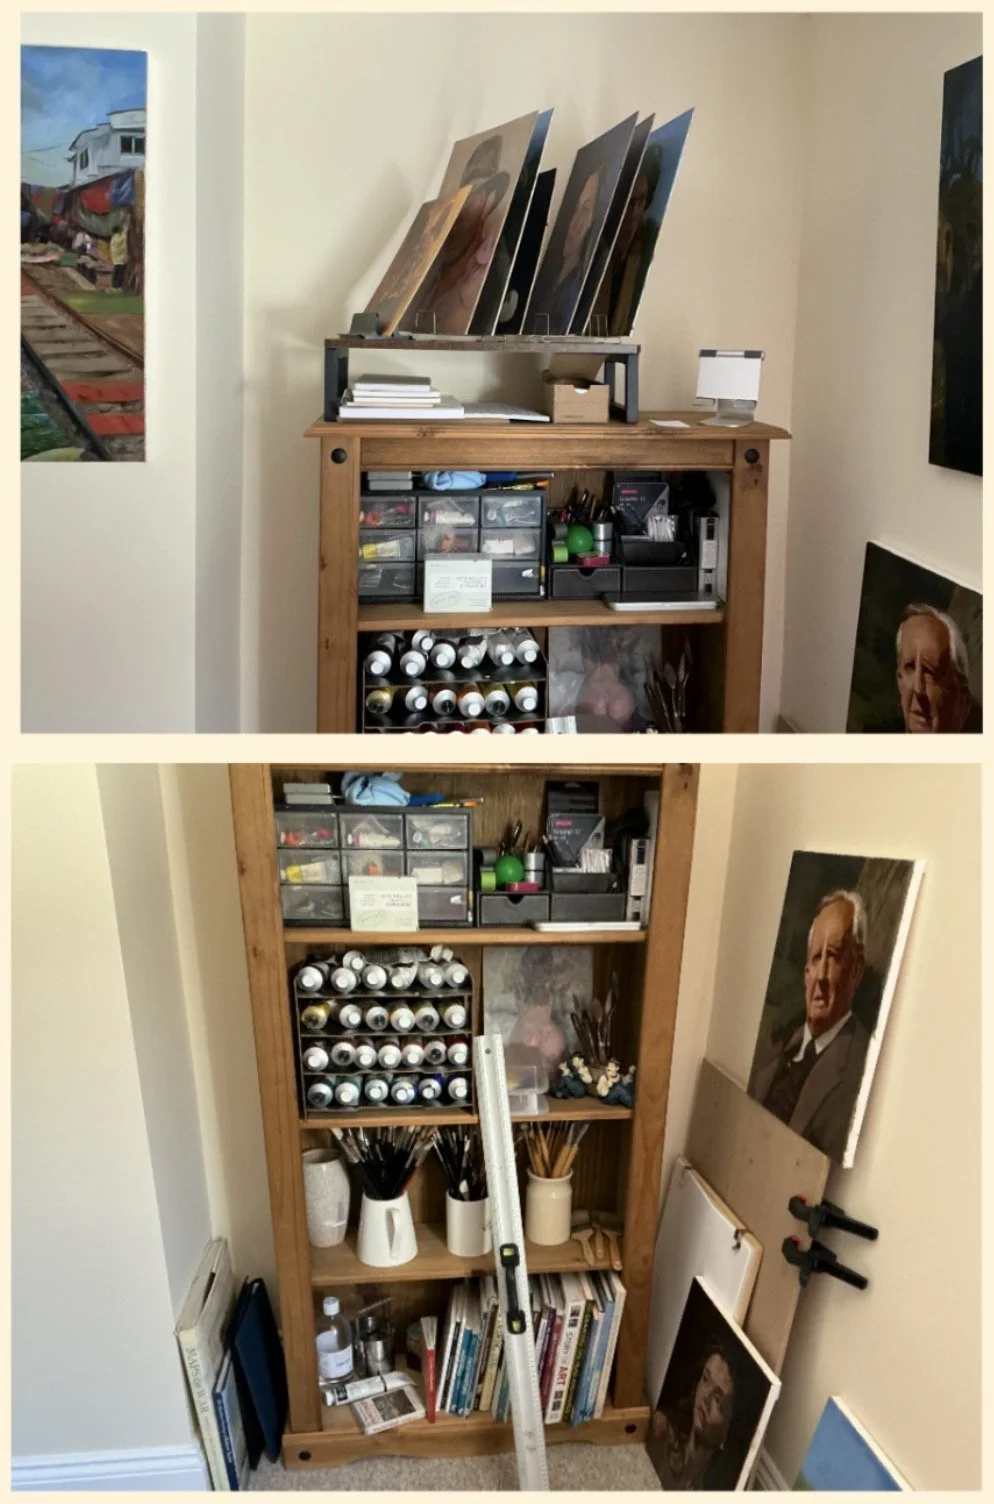
Organized artist bookcase featuring Michael Harding oil paints, brushes, and drying racks.
To keep the studio organised, I use an old wooden bookcase to store the majority of my paint tubes, brushes, and art books. I have also found a couple of clever, unconventional studio hacks: I use old wire dishwashers and toast racks as vertical drying slots for smaller panel paintings.
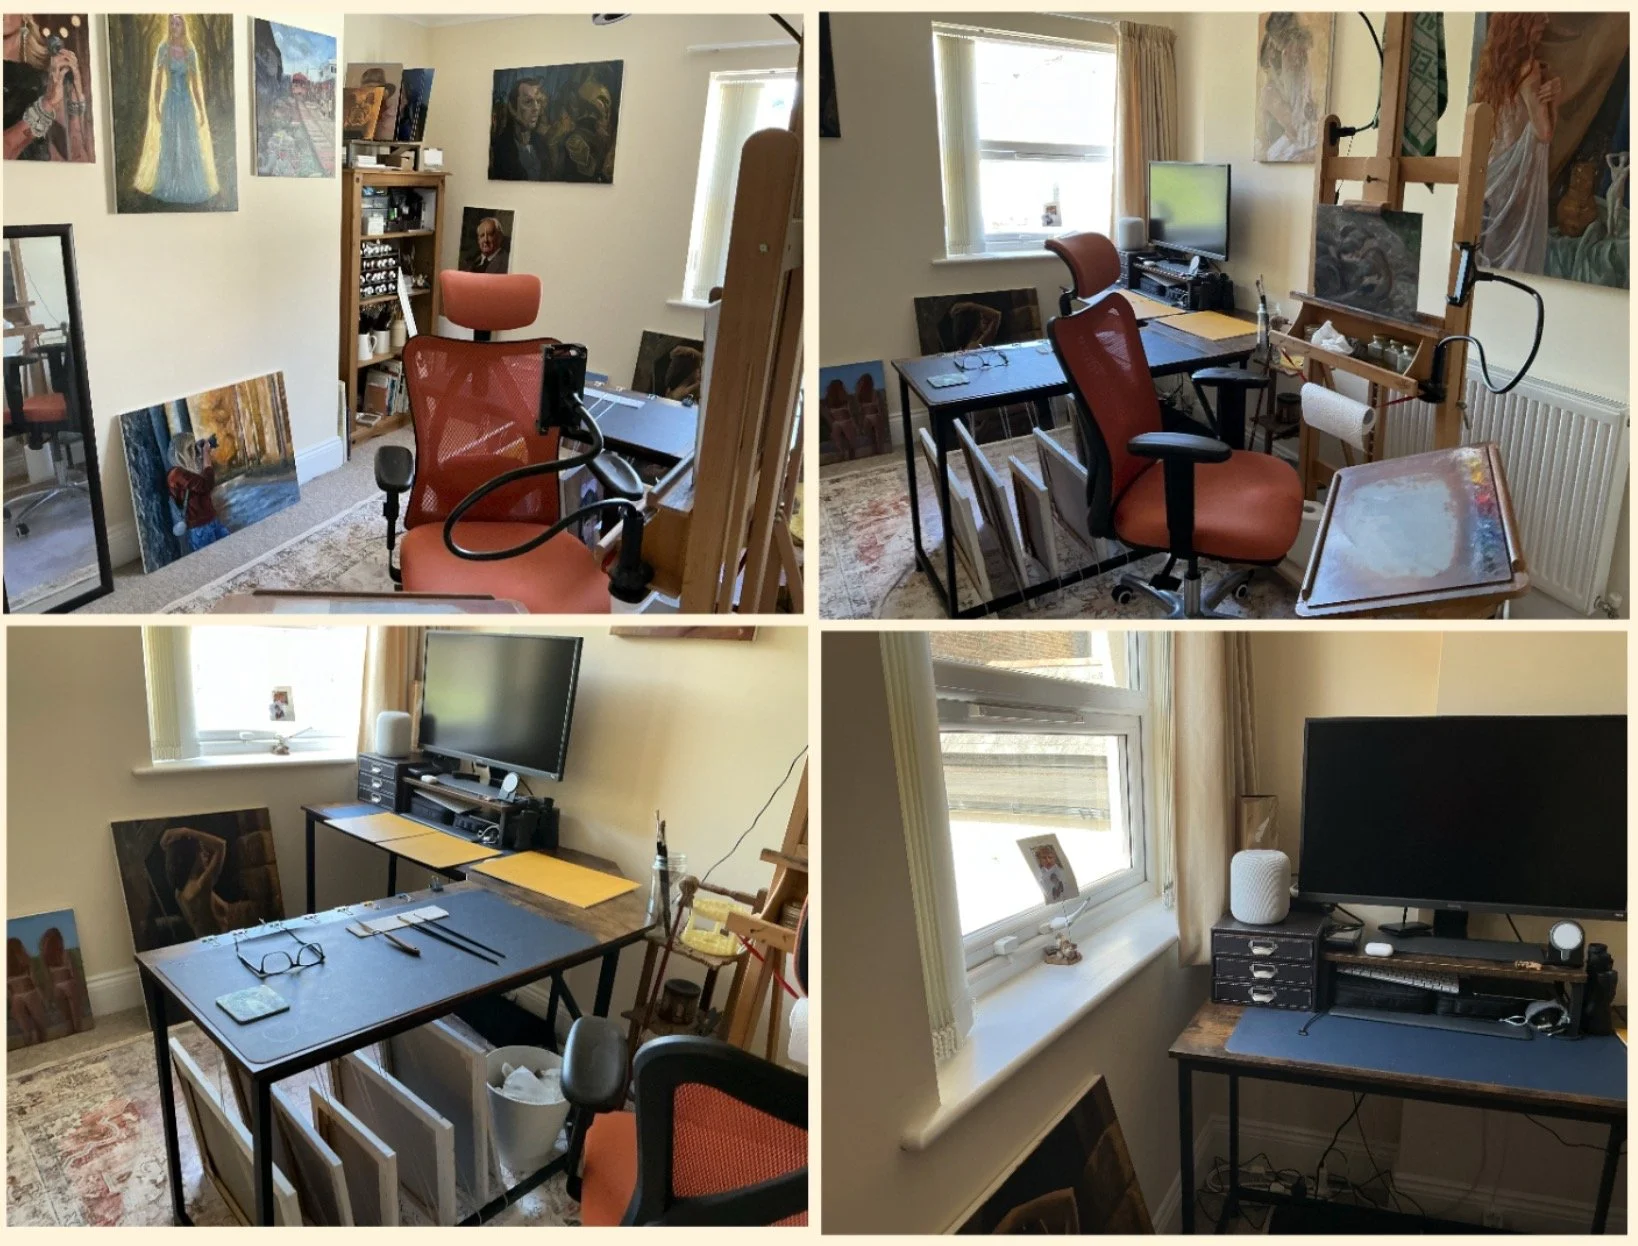
Converted home office art studio showing desk setup and drying canvas storage.
For larger oil on canvas works, I engineered a system using string and bulldog clips beneath the central part of my desk. This creates safe, separated slots where stretched linen canvases can dry undisturbed between layers or while awaiting their final coat of varnish.
Premium Materials: Michael Harding Oils and Professional Brushes
While I plan to dive deeper into my materials in future posts, I want to highlight the core supplies that guarantee the archival longevity of my artwork.
All of my oil paints are Michael Harding Professional Artists' Oil Colours. Manufactured here in the UK, these hand-made paints possess a spectacular pigment load and high-quality finish that make them an absolute joy to use.
To apply the paint, I rely on two exceptional brush makers: Escoda and Rosemary & Co. I use a balanced mix of natural hog bristles and high-performing synthetics, ranging in sizes from 1 to 12 across various shapes including flats, longs, rounds, and filberts.
The Value of Discipline and My Painting Process
No doubt a leftover habit from my previous career in project management, I am a firm believer in structure, planning, and daily discipline when it comes to fine art.
I am a natural early riser, typically waking just after 5:00 AM. I take time for breakfast and a coffee while mapping out the day’s creative milestones. I usually step into the studio around 7:00 AM to begin painting, working straight through until lunchtime. My afternoons are reserved for household life, family, and socialising, though I always carve out a bit of afternoon time for website management and social media updates.
My technical approach follows the traditional layering method on both canvas boards and stretched linen:
Imprimatura: I begin by priming the white canvas with a thin wash of Michael Harding Yellow Ochre primer.
Underpainting: I sketch out the initial composition using Transparent Brown Oxide.
Layering: I apply between one to four successive layers of paint, allowing proper drying time between each, until the desired depth and outcome are achieved.
Connect with Me
If you stumbled across this post while exploring the web for traditional oil painting techniques or studio insights, thank you for visiting! This is only my second blog post, and both my site and blog are in their early days.
I look forward to sharing more behind-the-scenes looks into my artistic journey. Please take a moment to browse the Available Artwork Gallery on my site. If you have any questions about my process, equipment, or specific paintings, I would love to hear from you via my website contact form!
